Rules to Better Control4 - 12 Rules
Control4 is a leading technology provider in the home/office automation industry, offering a range of products and solutions that allow homeowners to control and manage various aspects of their homes, such as lighting, climate, entertainment systems, and security systems, from a single user-friendly interface. The company's technology is designed to make homes more convenient, comfortable, and secure, and is known for its innovation and reliability.
See more on Rules to Better Automation.
If you still need help, visit our Smart Office/Home consulting page and book in a consultant.
Note: While running a Control4 showroom in Sydney, our customers and SSW consultants have come across some issues that you can see on Suggestions to Control4.
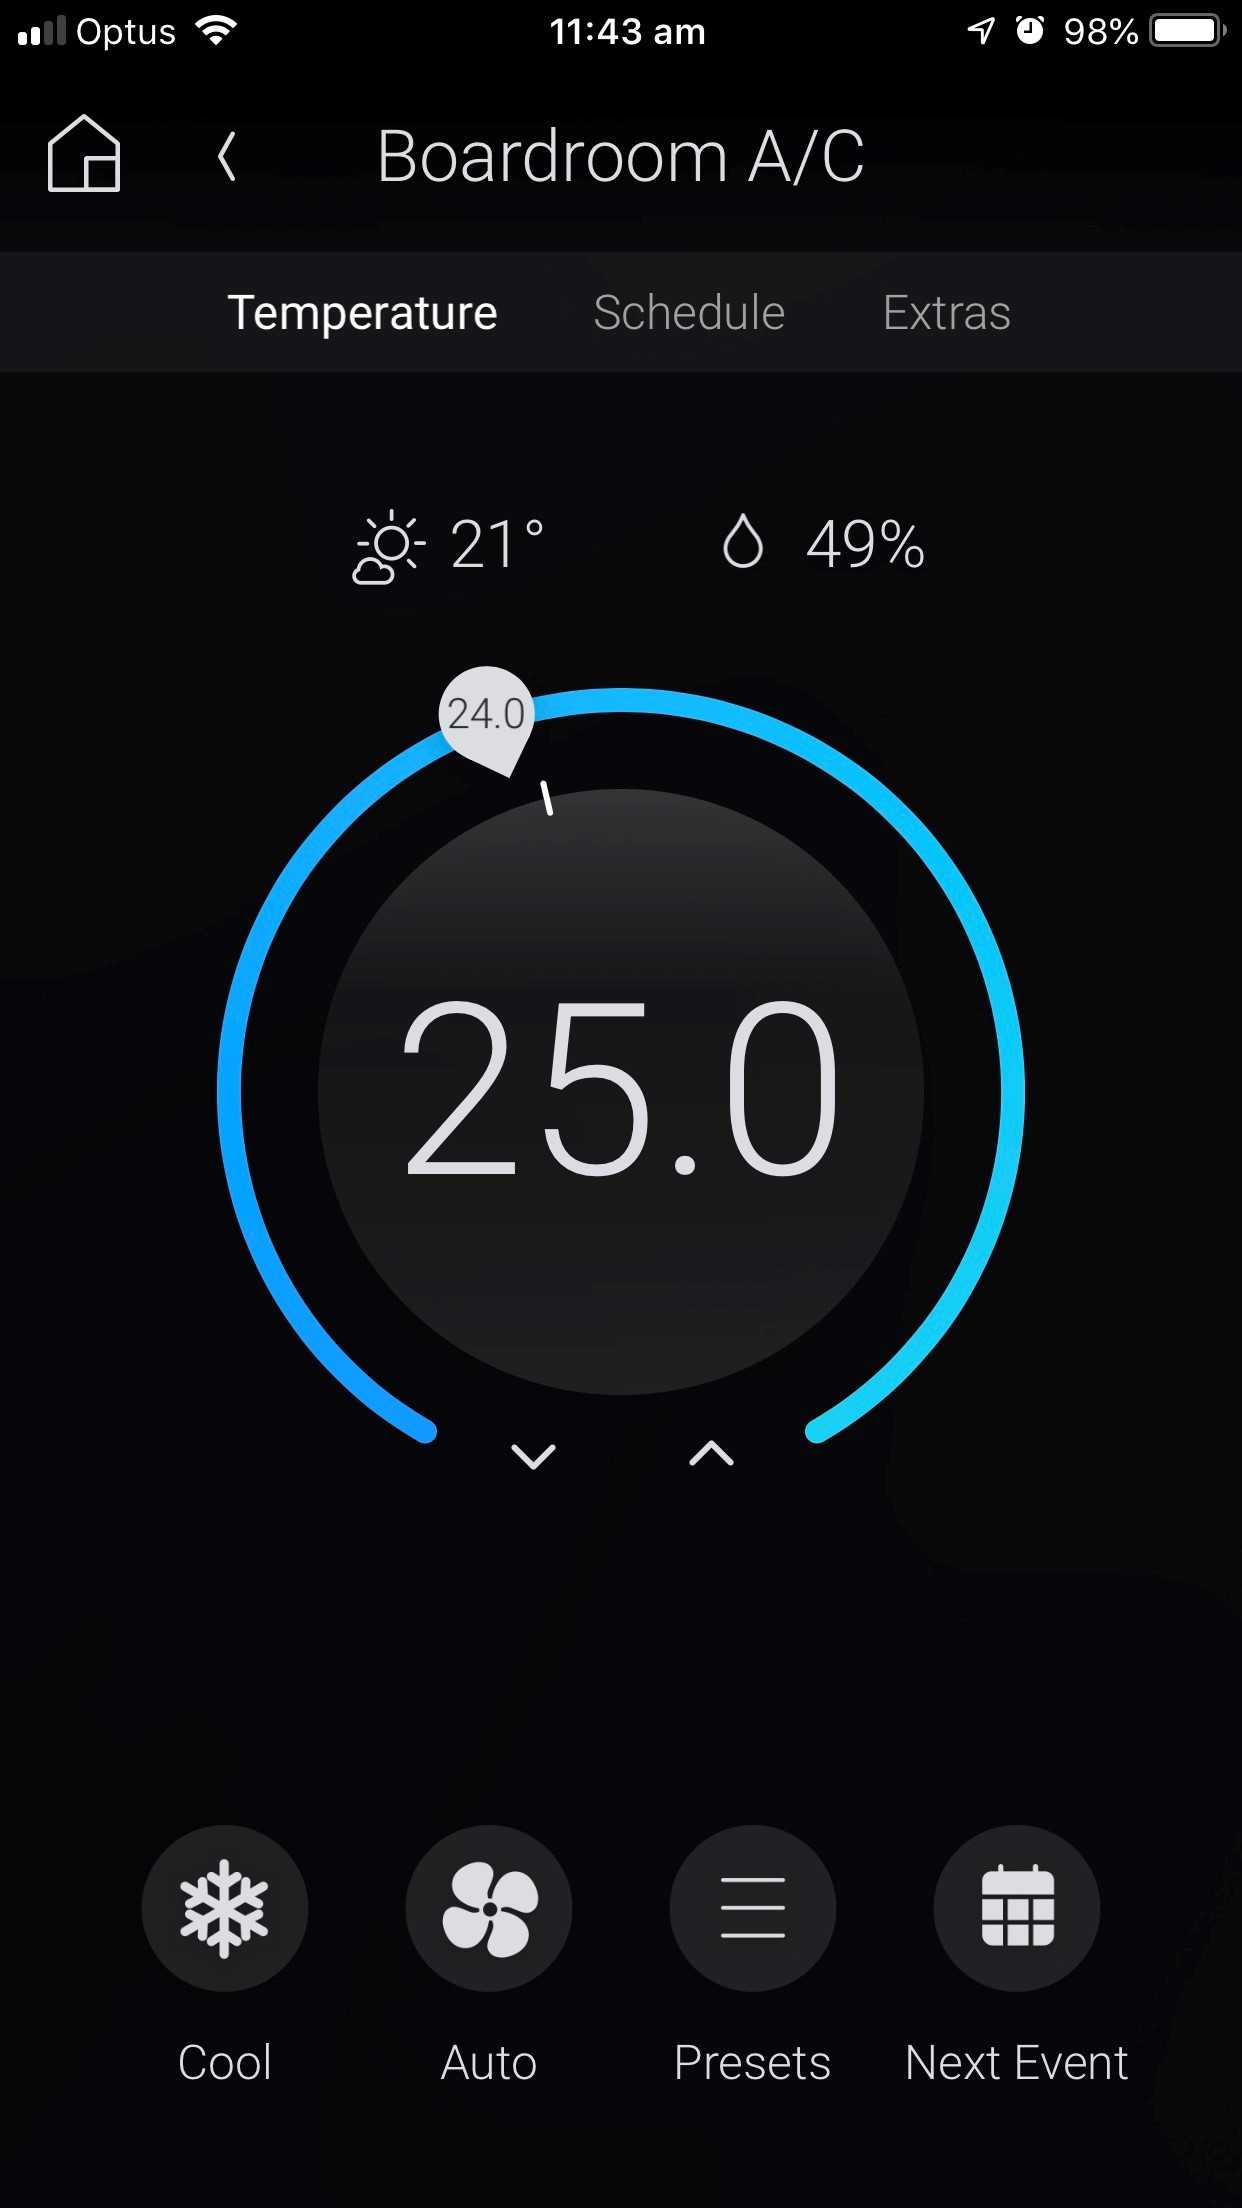
Check in on your home or office from your smartphone using the Control4 App - The Control4 App turns your iOS or Android mobile device into the smart home/office command center. It connects directly to your system and allows you to control and manage all of your system’s features, such as lights, temperature, cameras, audio/video equipment, smart door locks and more.
Throw away your remote controls and move on to technological freedom!

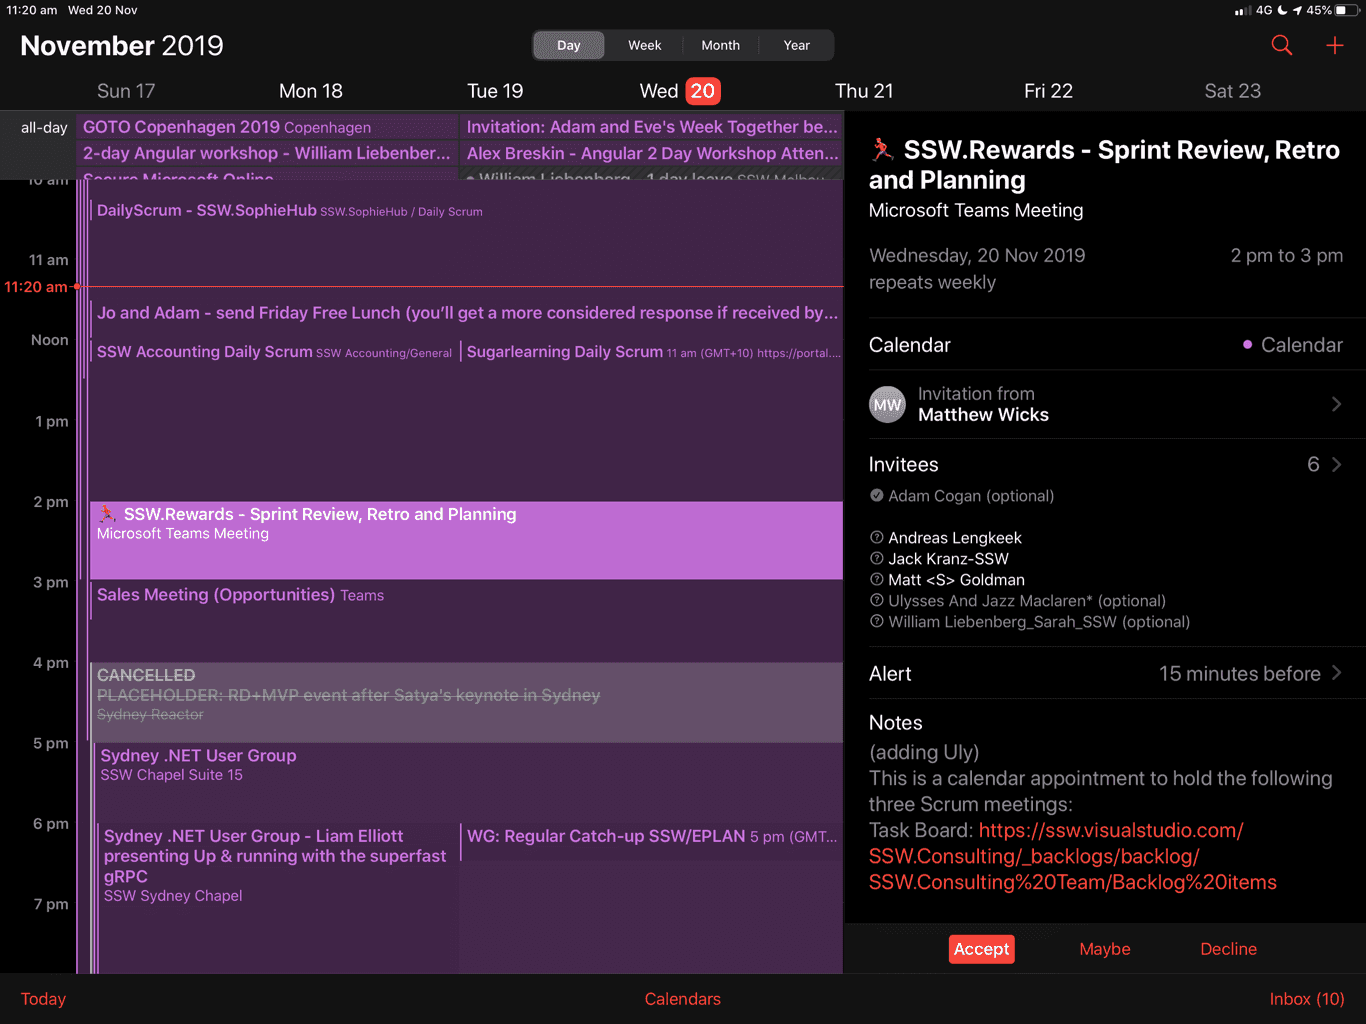
Figure: Bad example - Using any pysical remote control instead of the Control4 app 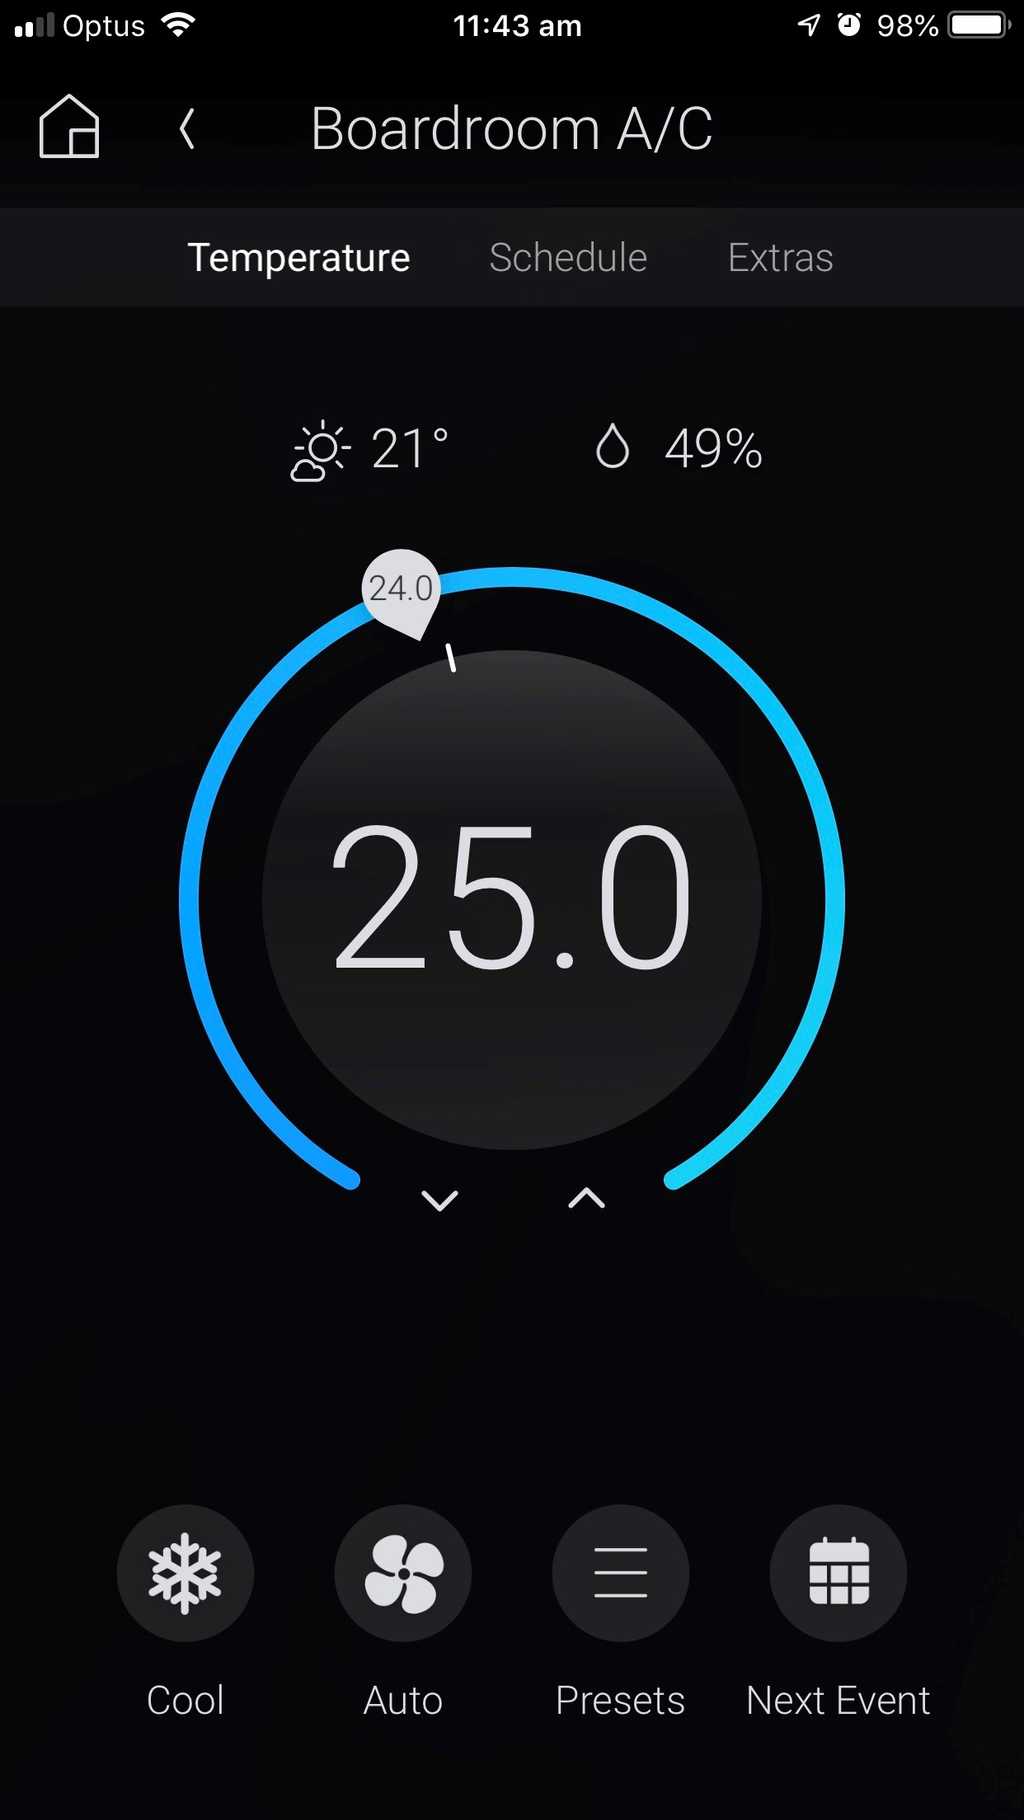
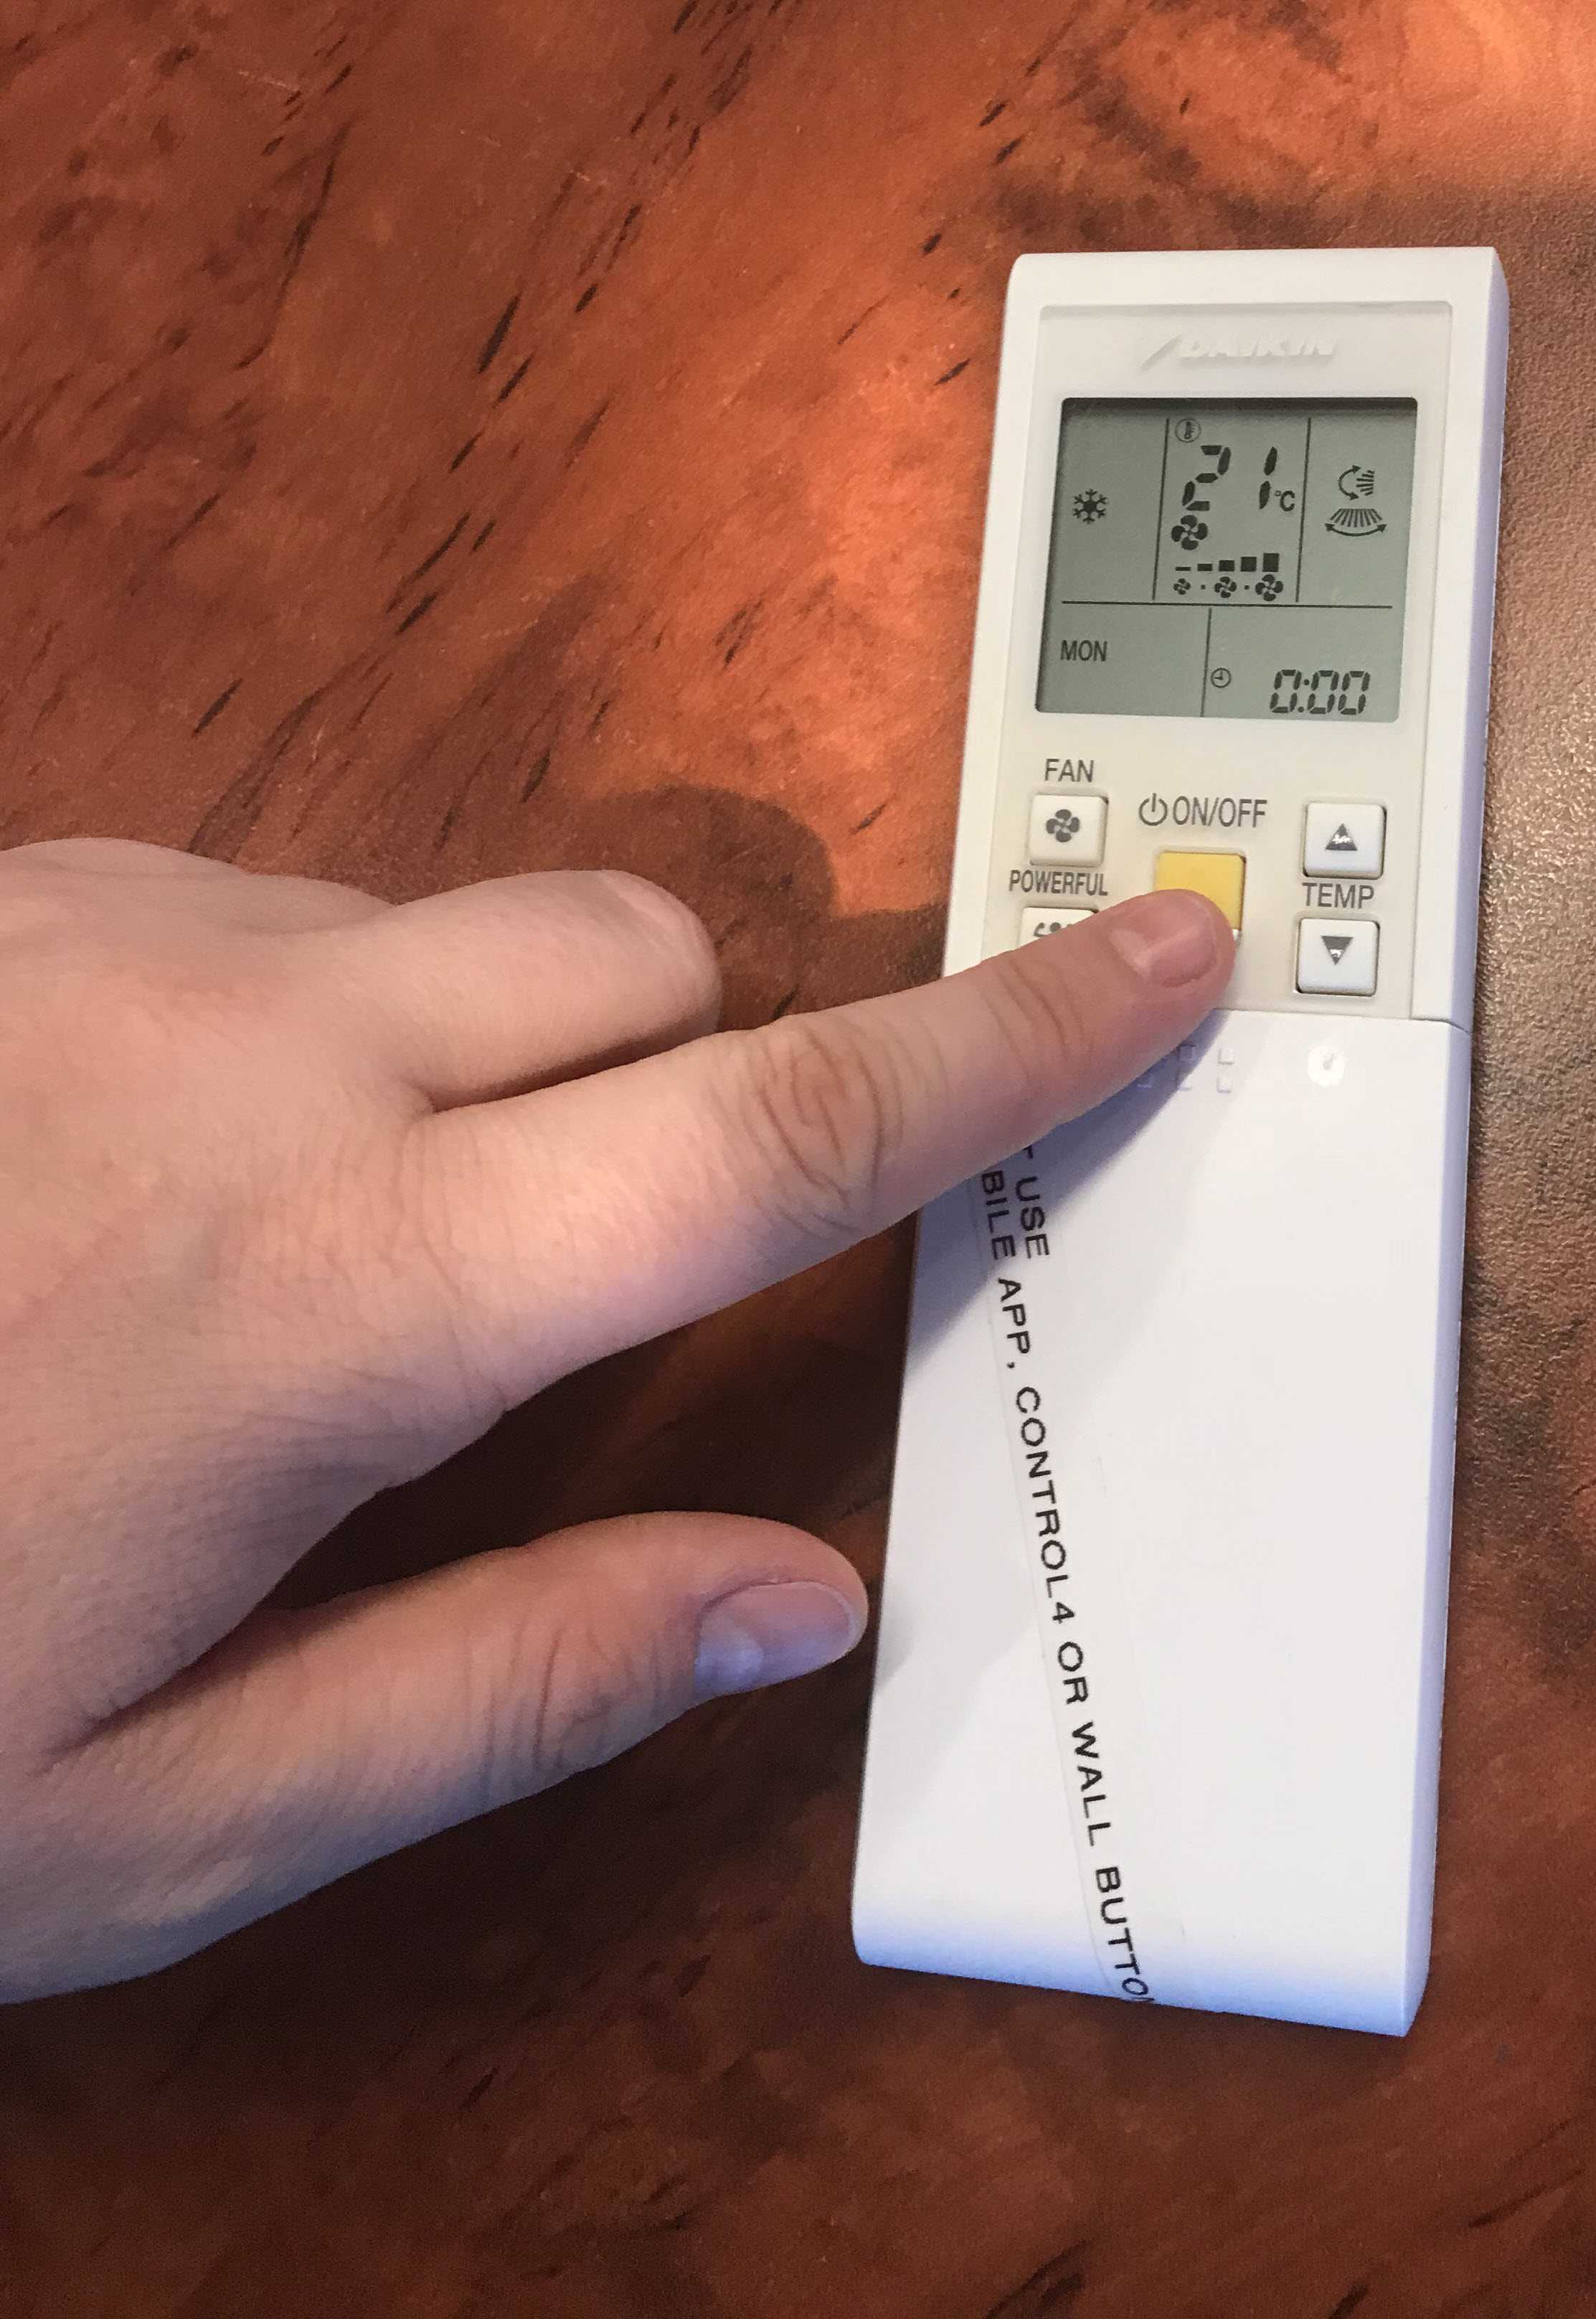
Figure: Good Example - Turning on the air conditioner using Control4 Installing Control4 on your phone
To use Control4 on your phone and remotely control all services, you will need to follow these simple steps:
- Download the app from:
- App Store or
- Google Play
Figure: Download App 2.Select "Add System" button
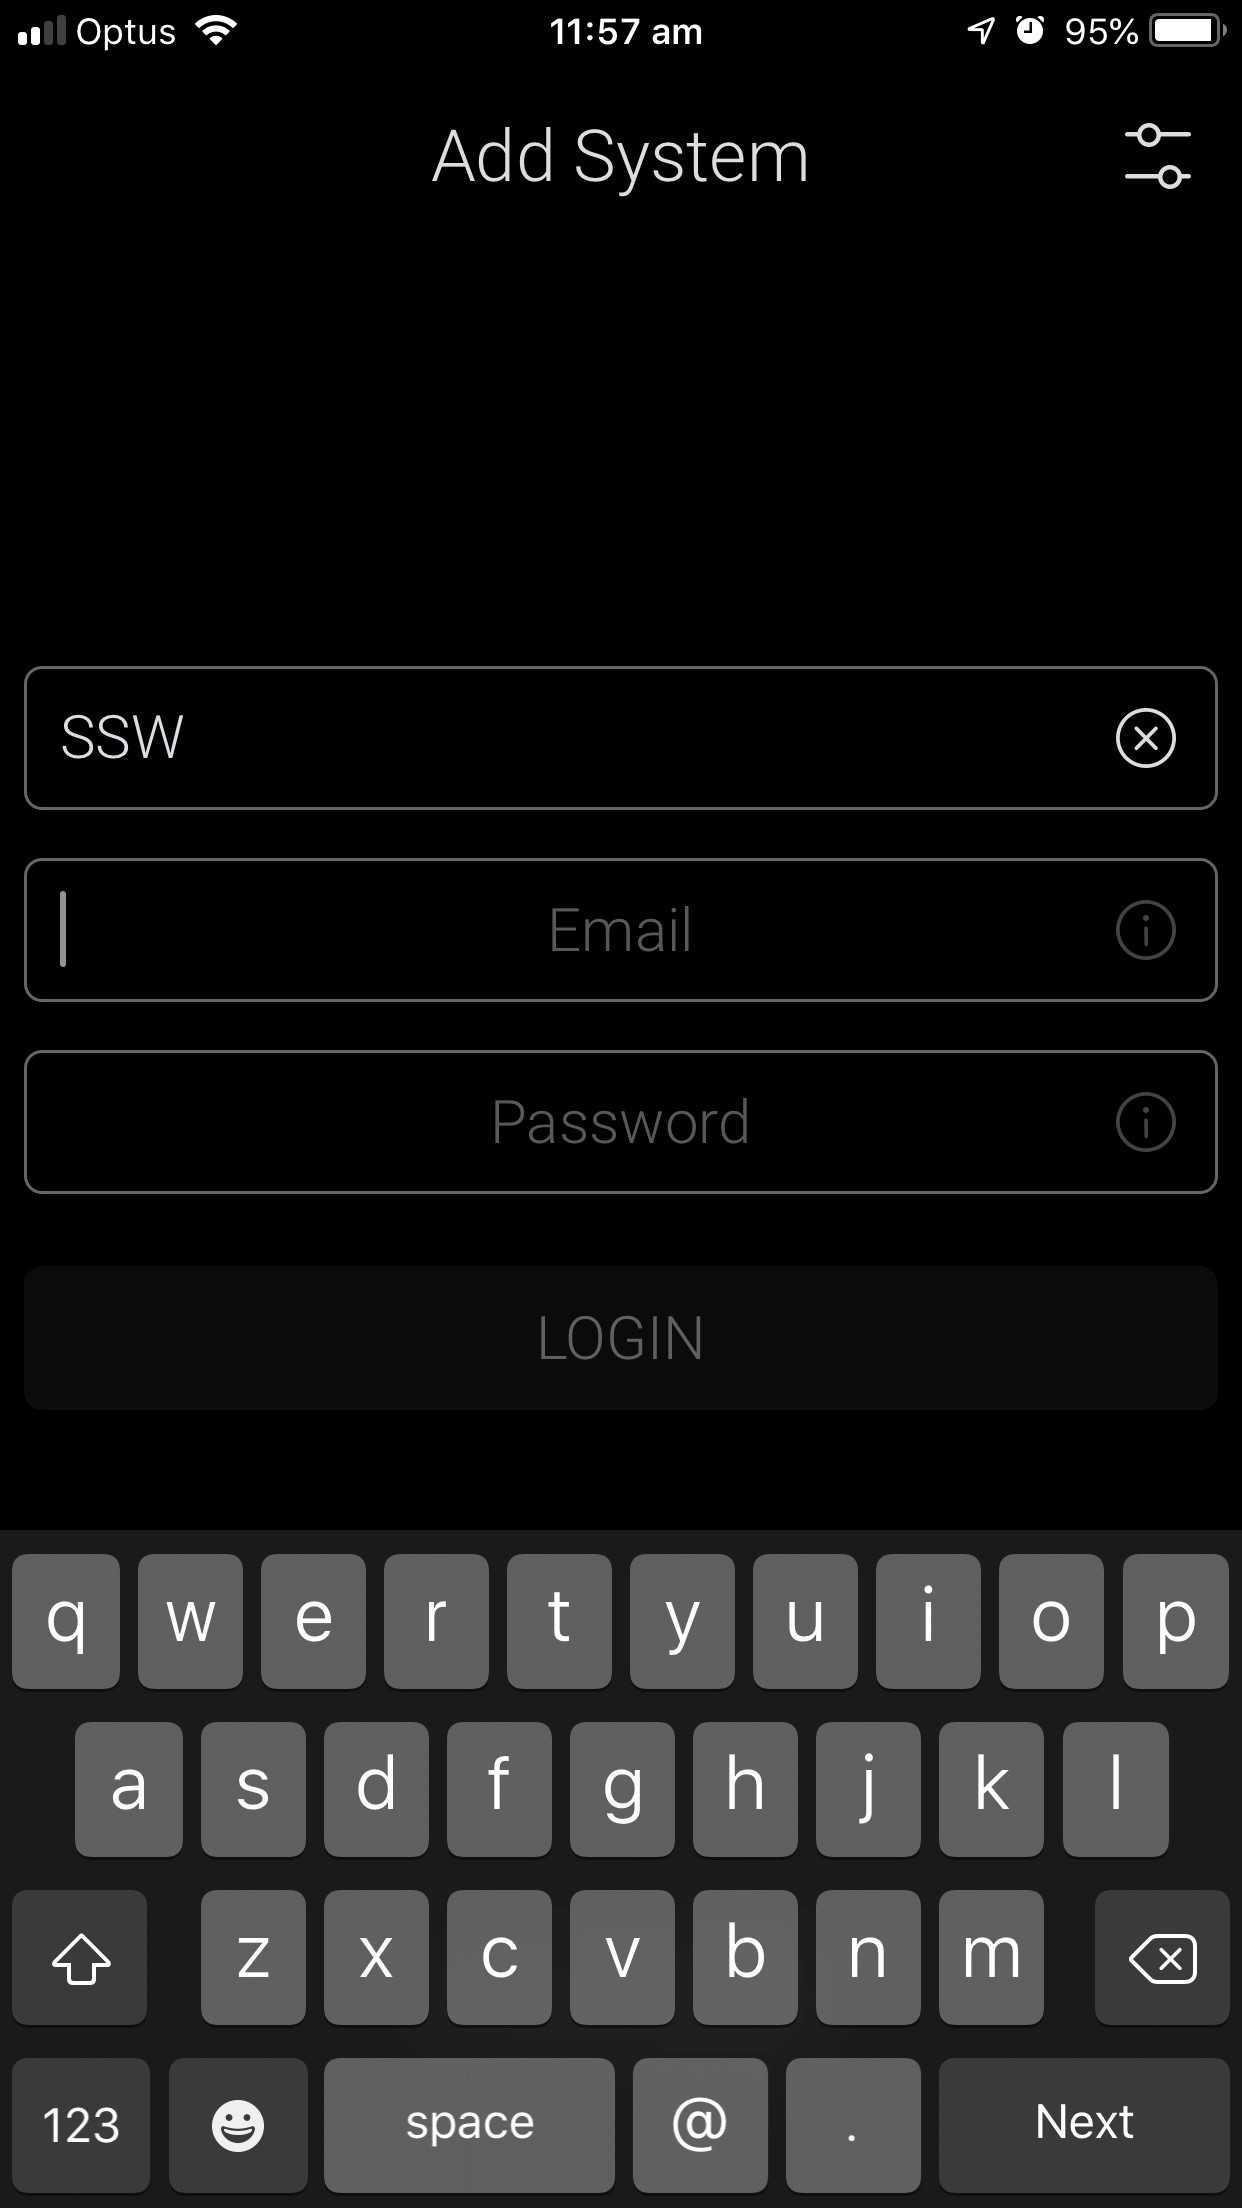
Figure: Add system button - Contact your SysAdmin to set you up with an account for logging in
- Make sure you are on the same WiFi network as your Control4 System and that you have an internet connection.
- Use your credentials to sign into Control4

Figure: Add system details
::: info Tip: The System Name you enter is what the system will be called on your device. It can be anything.
:::Using Control4
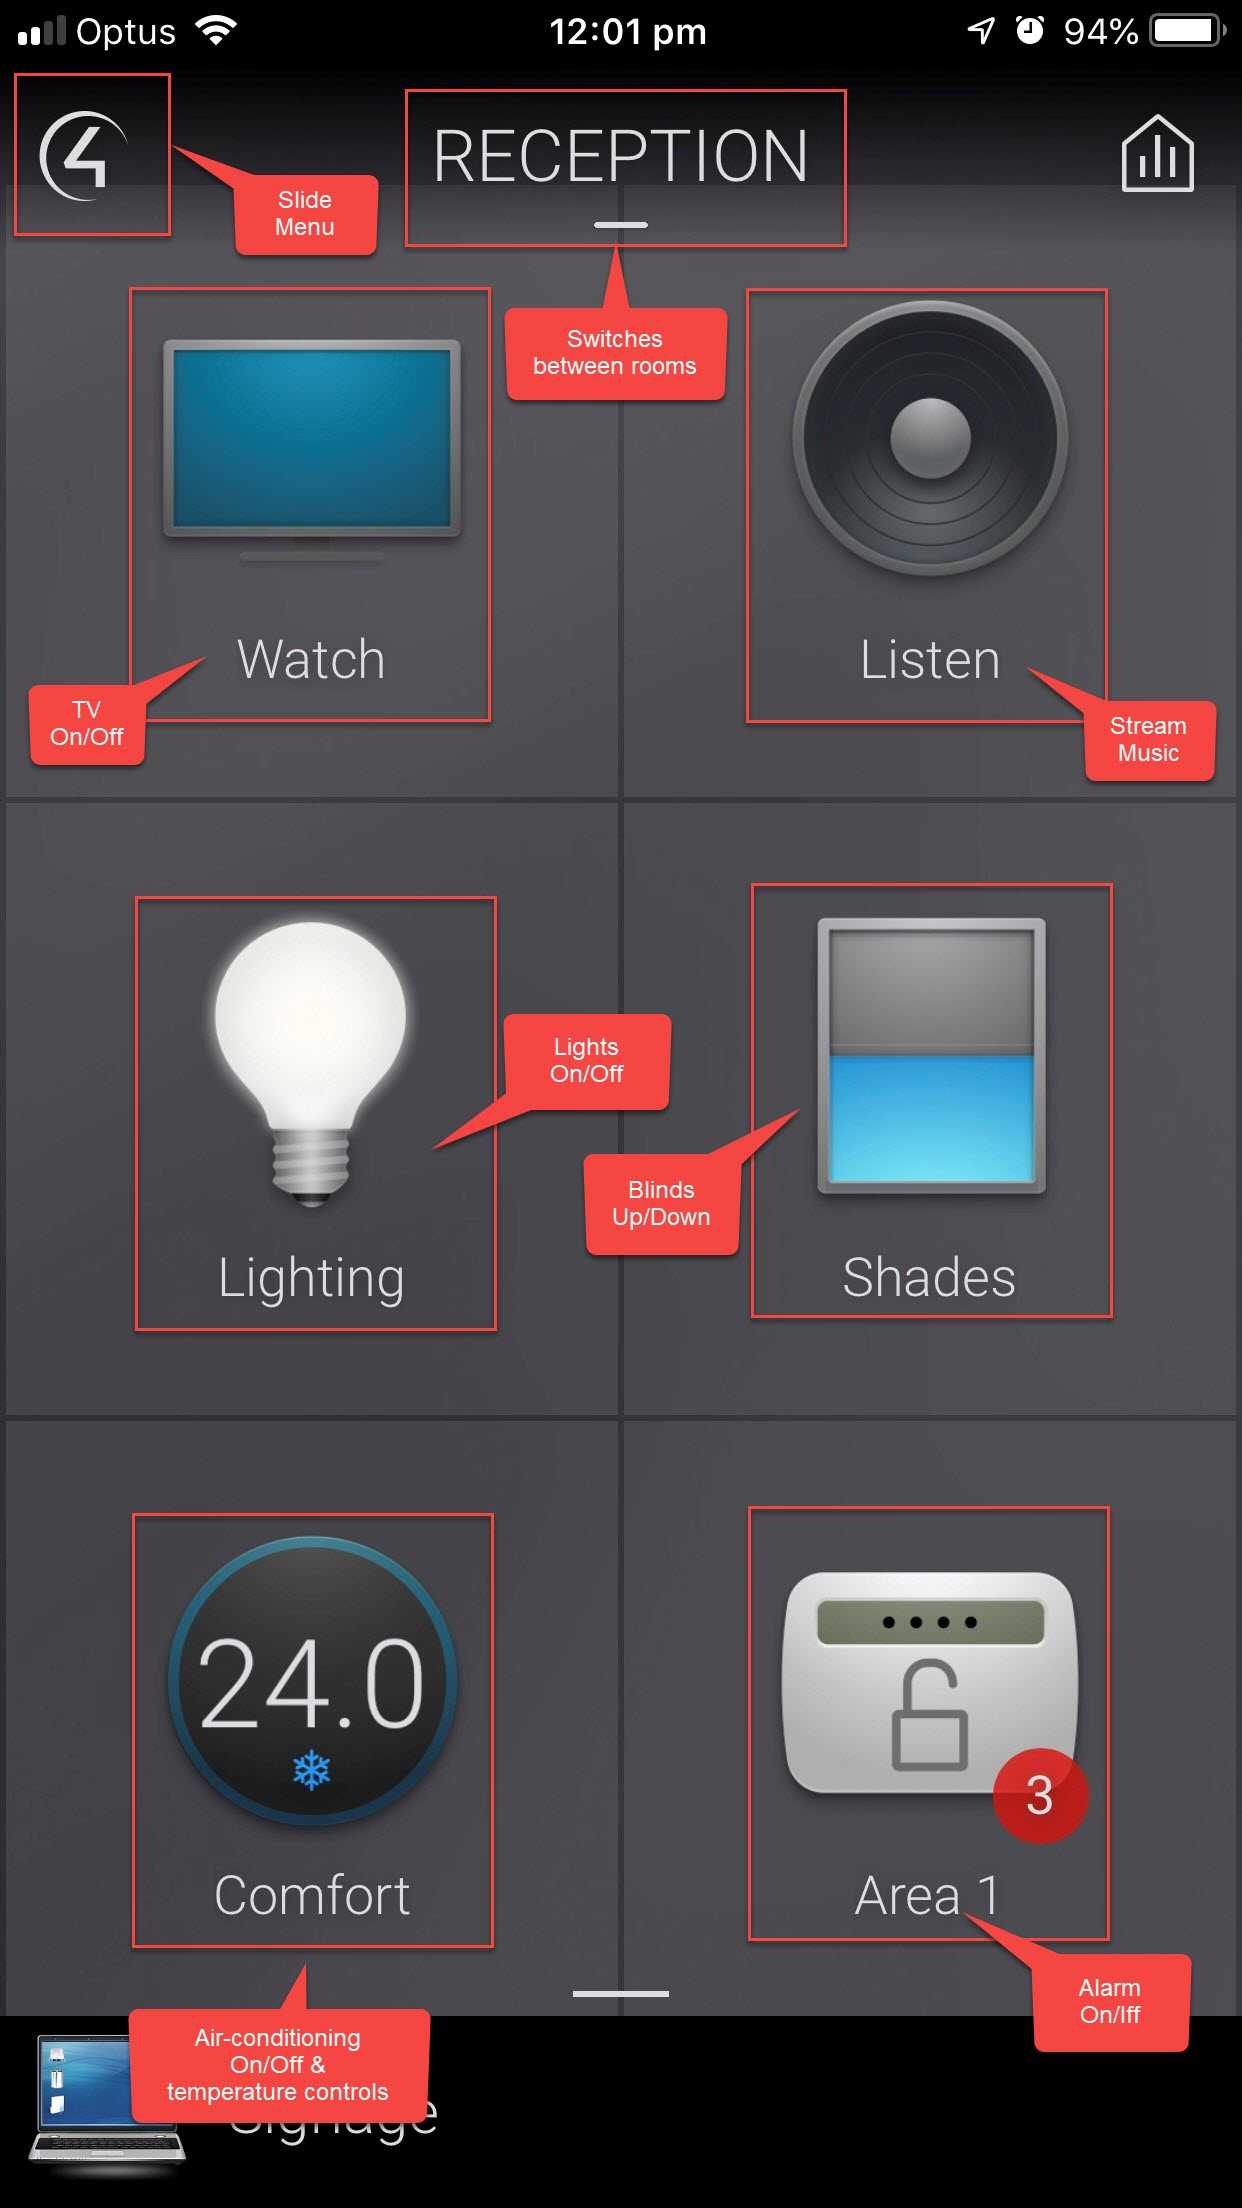
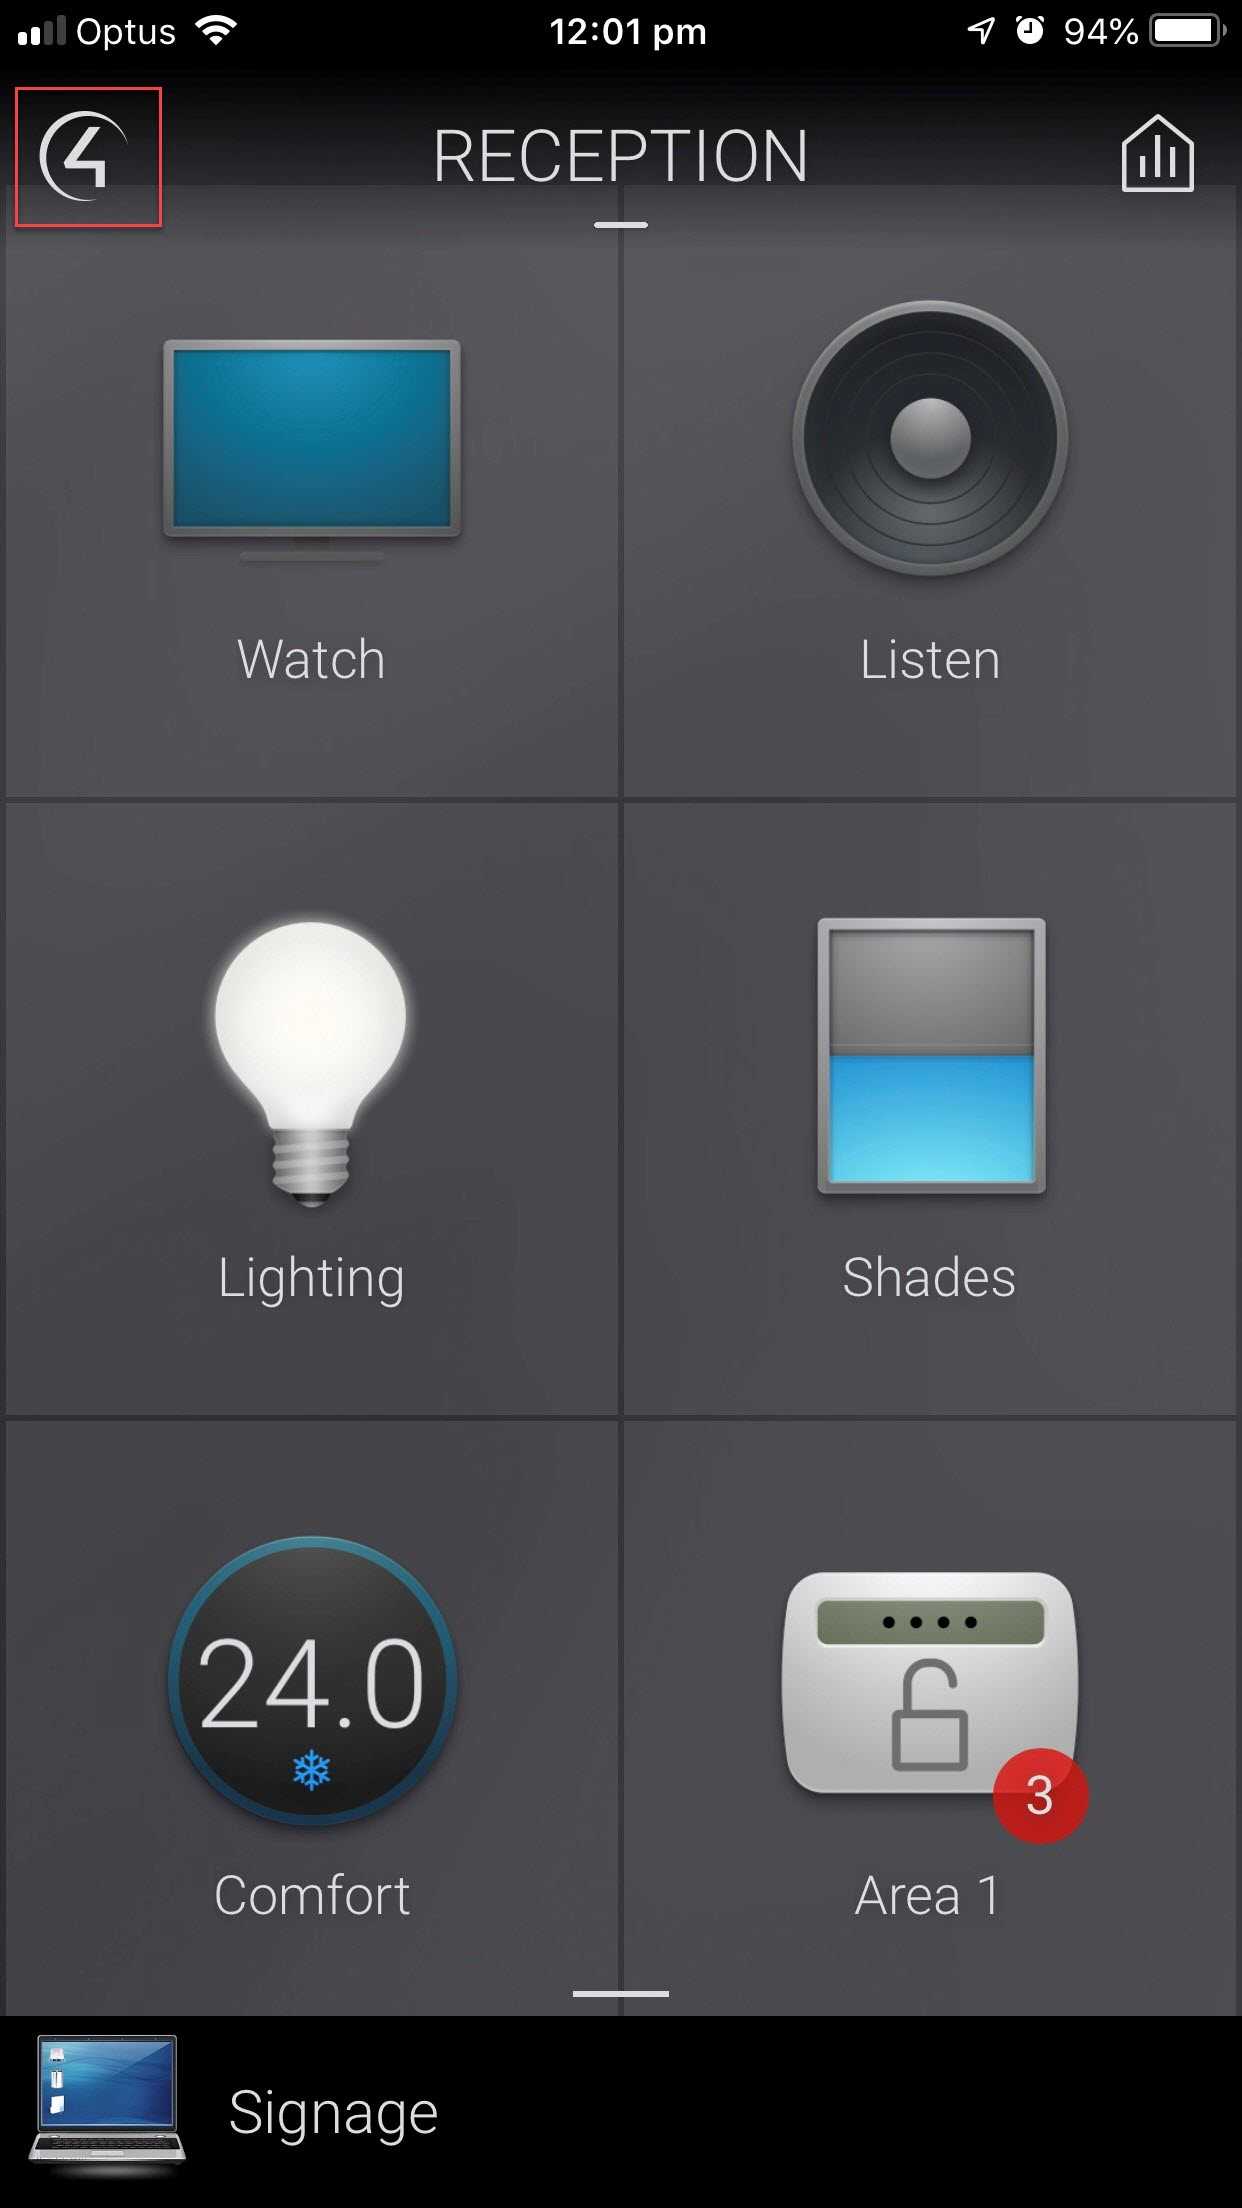
Once logged in, you will have access to your site's controls. These apps are customisable, but the ones we have at SSW are:

Figure: SSW reception controls Changing Users
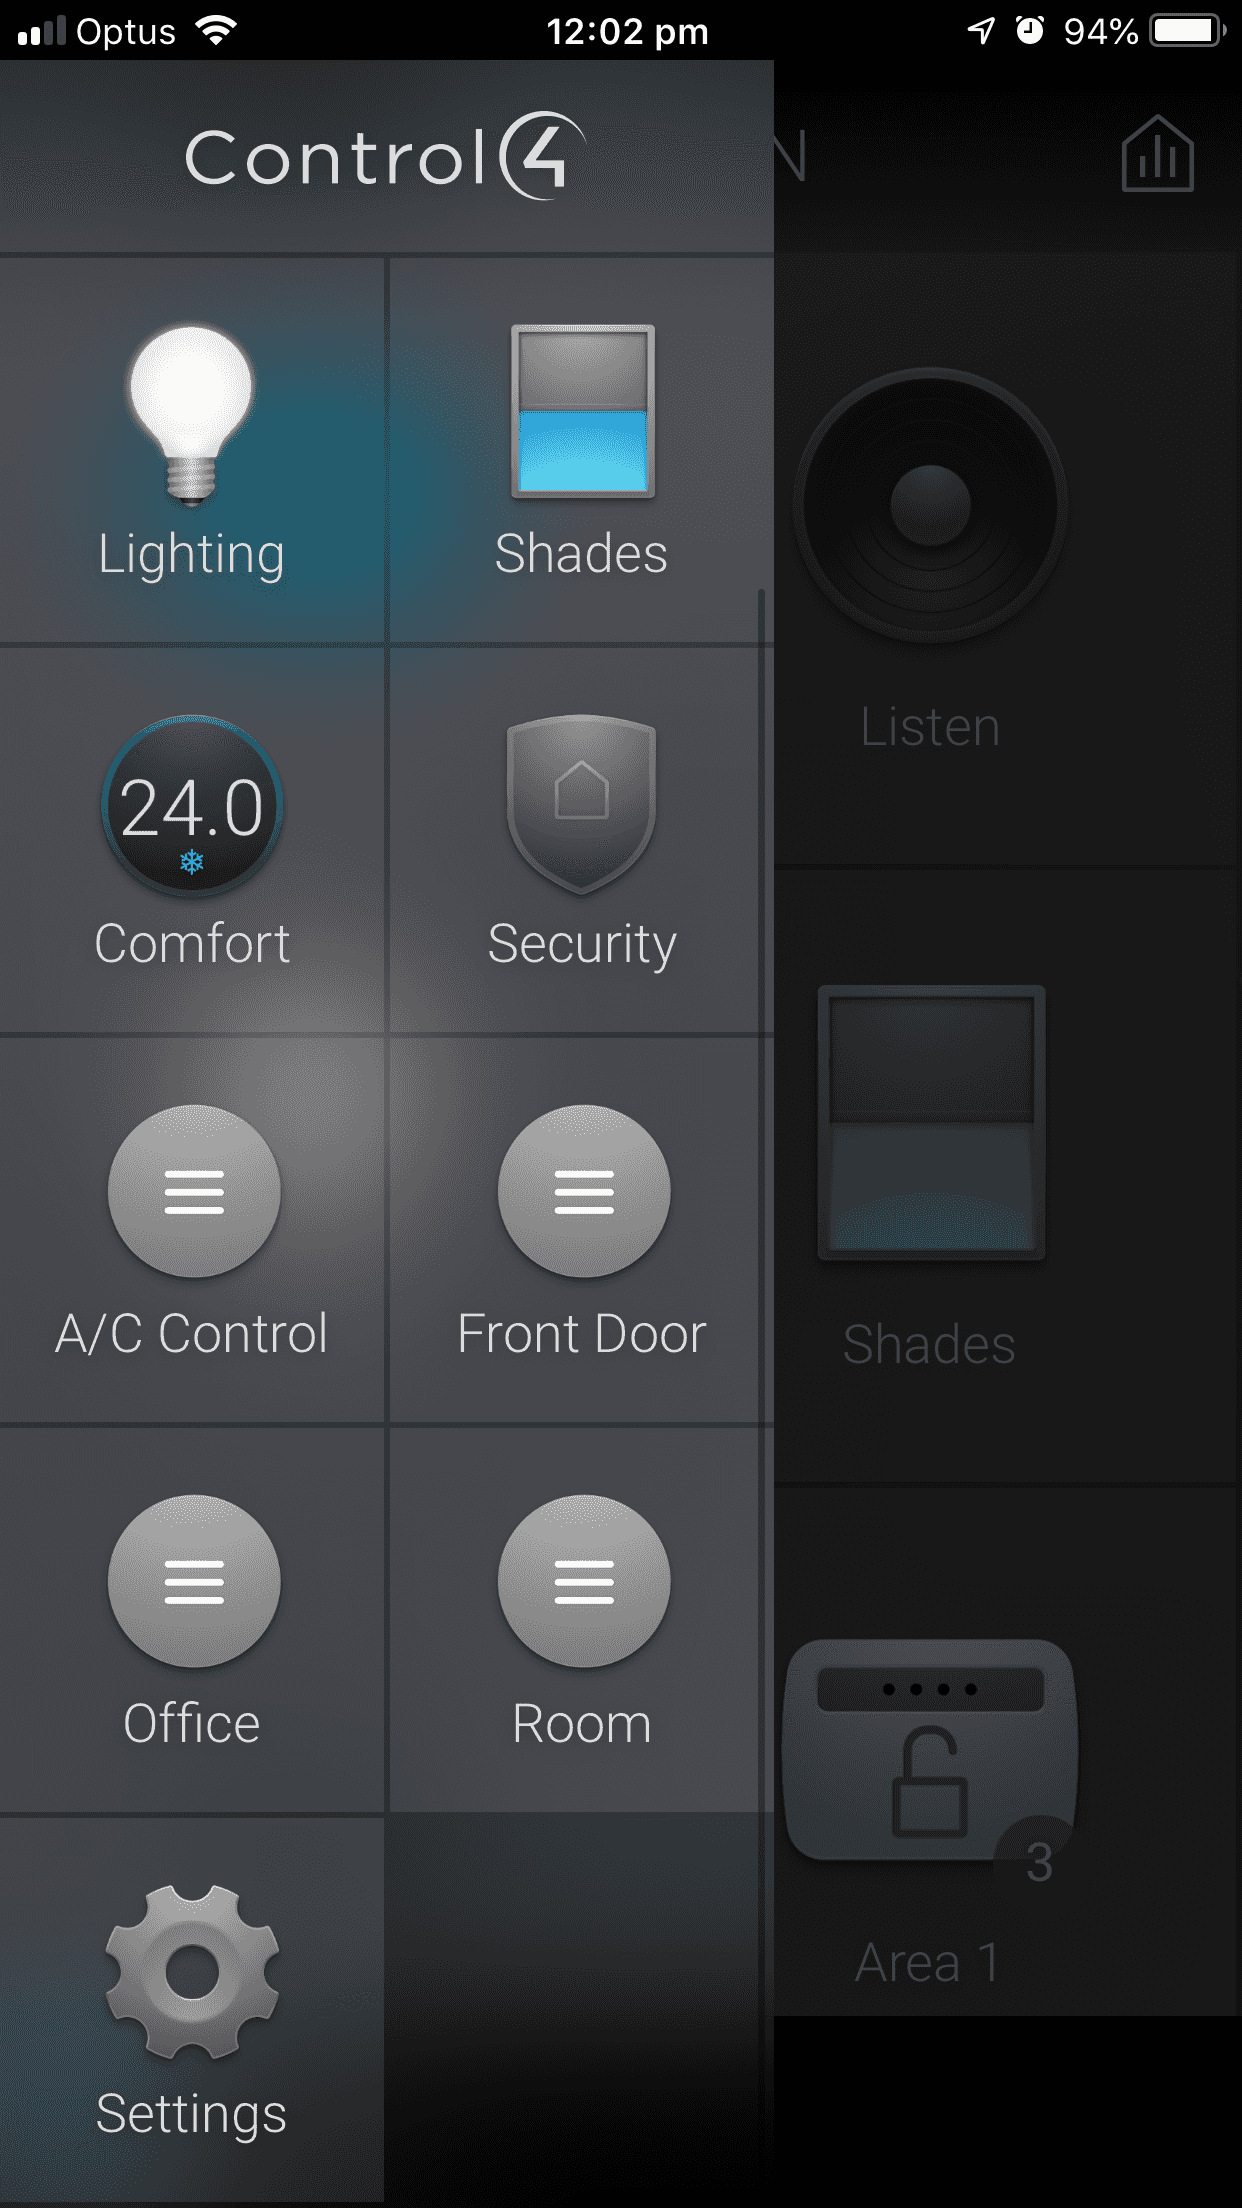
If you need to change the user or sign in with new credentials, you can use the following steps to do so:
- Tap the Control4 logo to open the menu

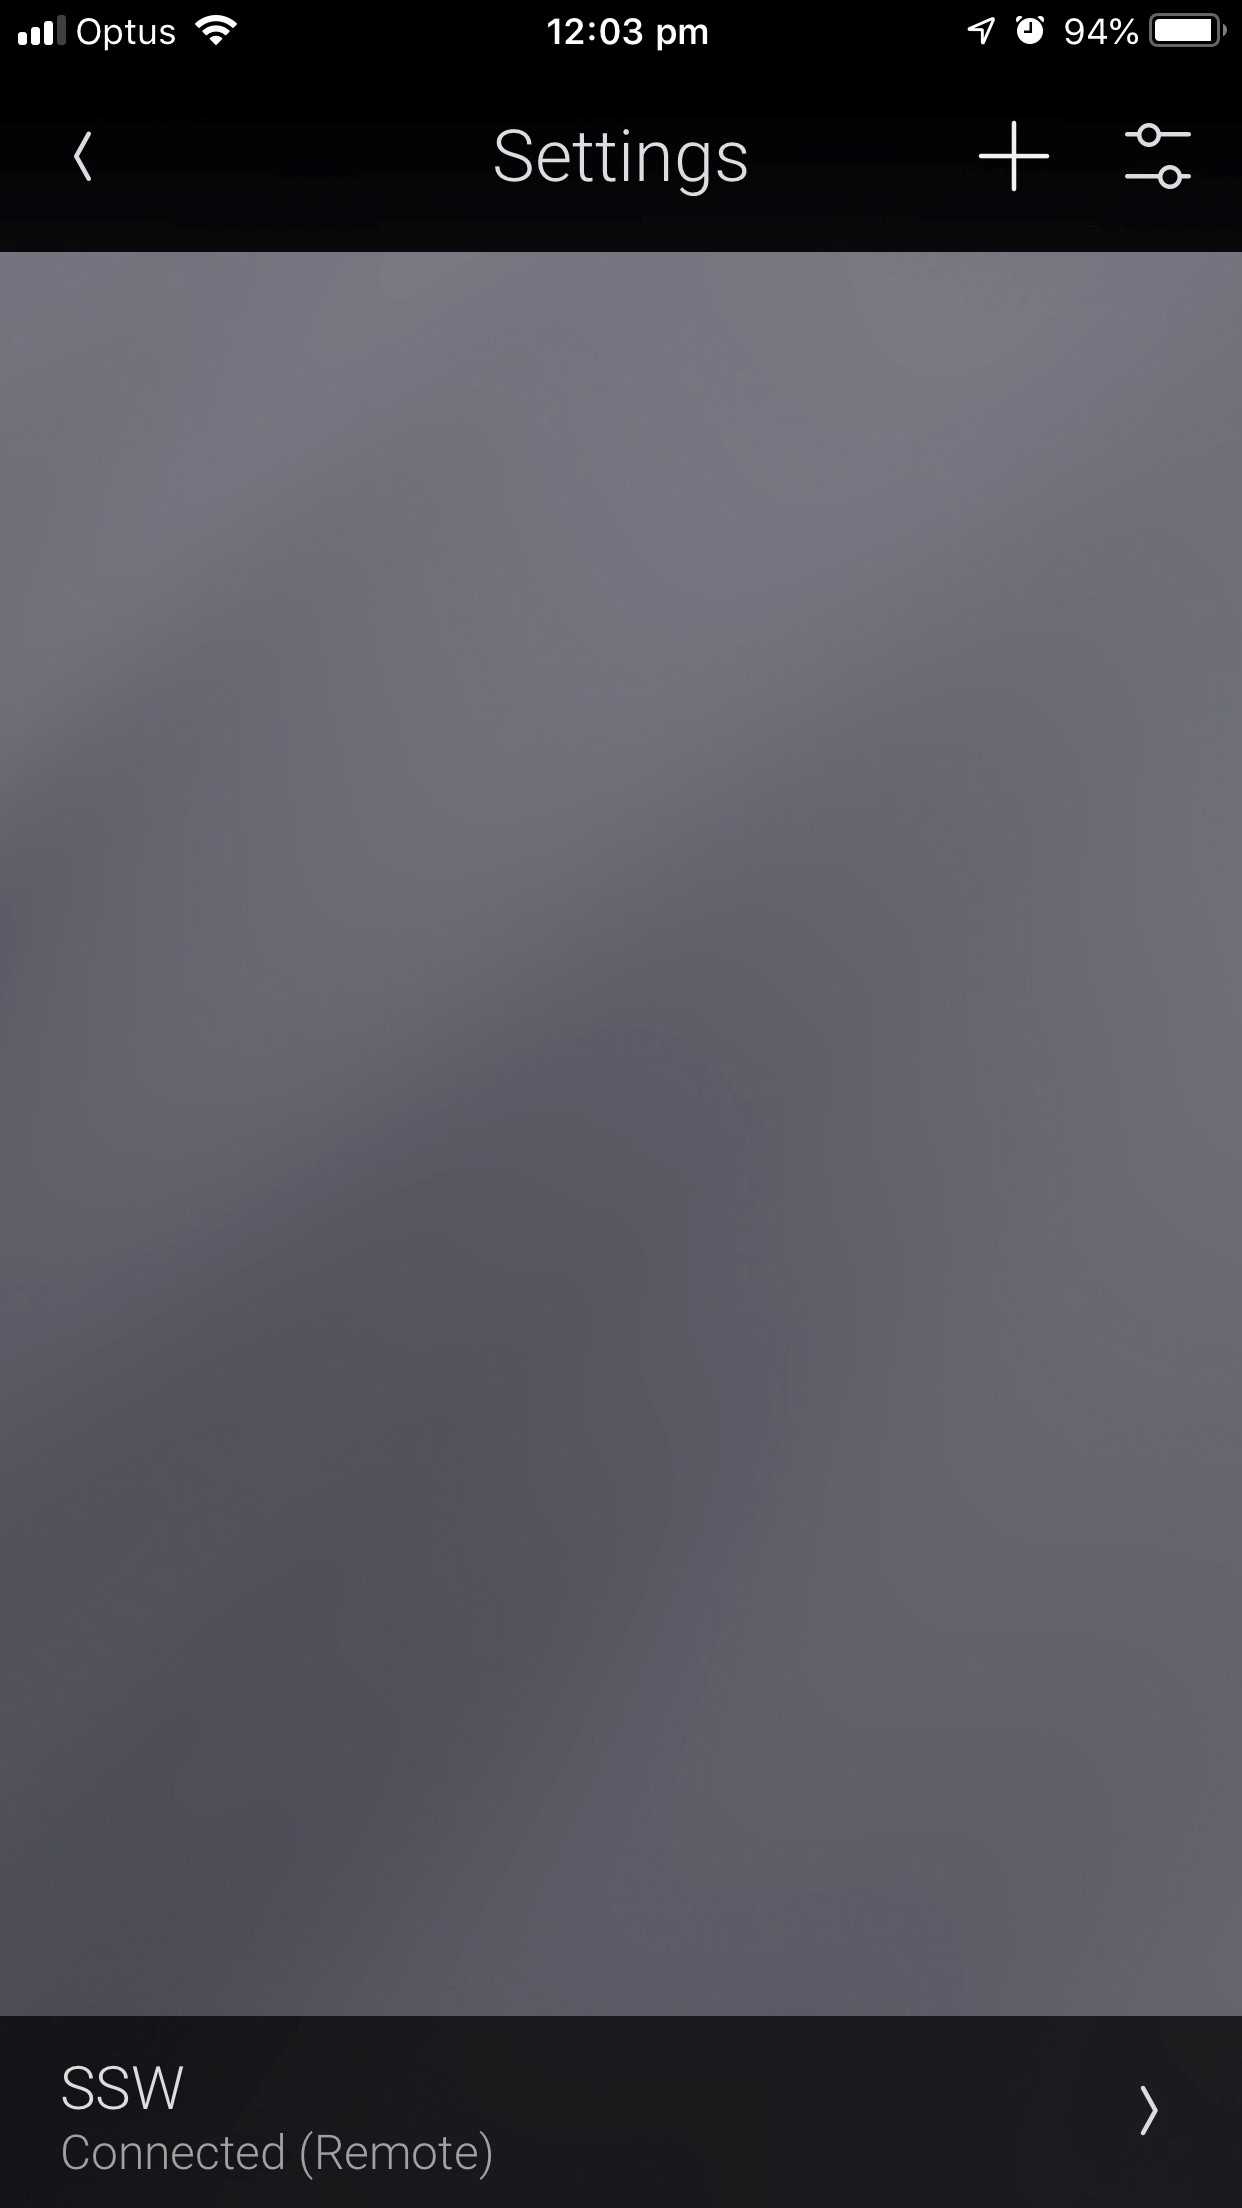
Figure: Tap logo - Scroll to the bottom and select the settings button

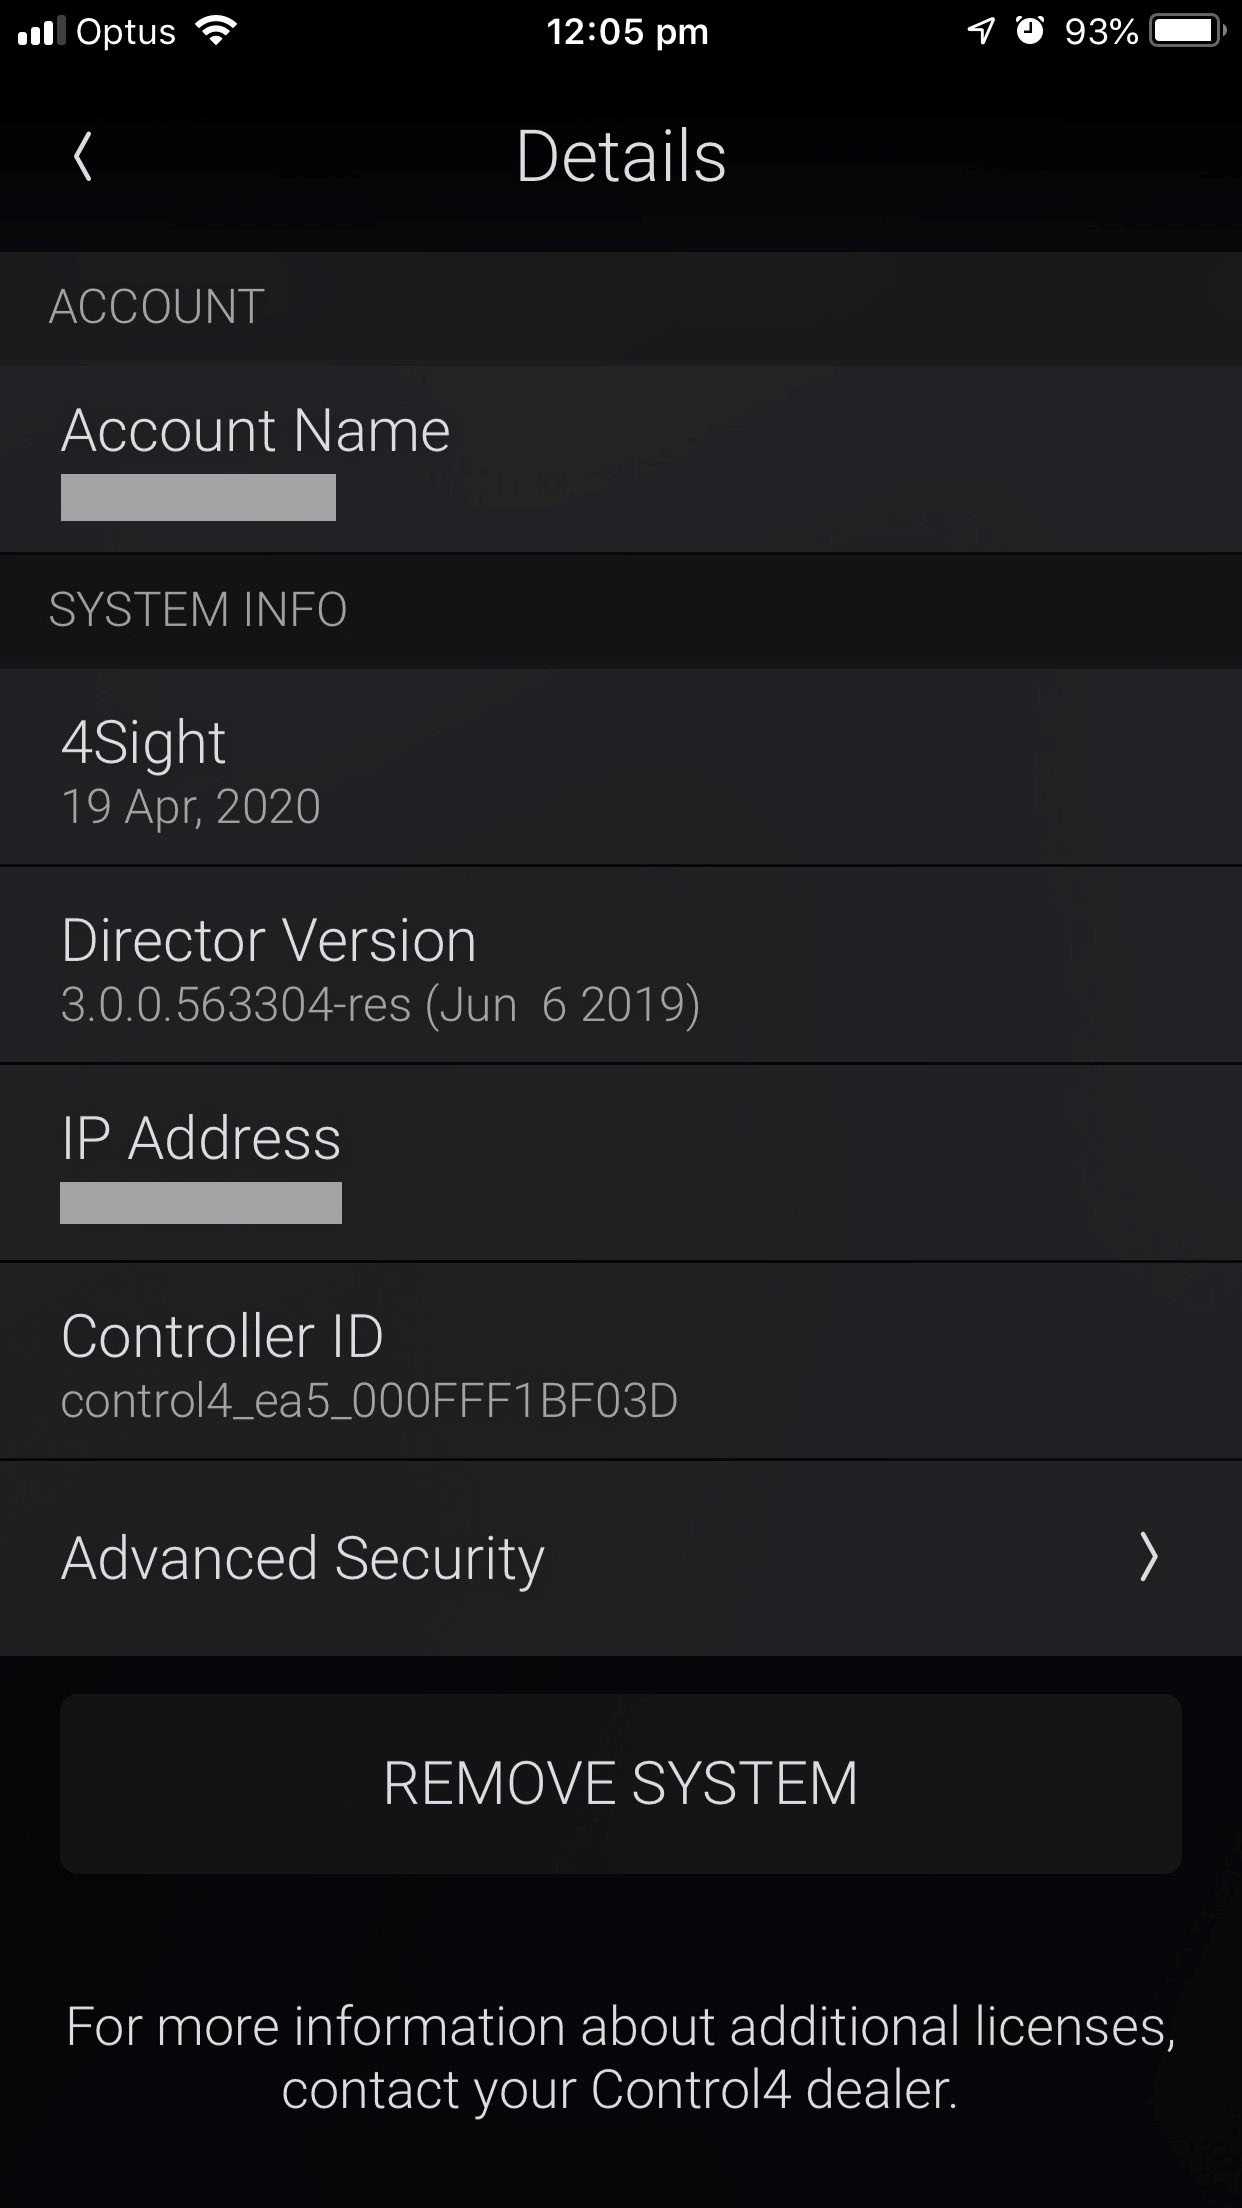
Figure: Select "settings" - Select your System
Figure: Select your system - Select "Delete". This will reset the account and allow you to enter new credentials.
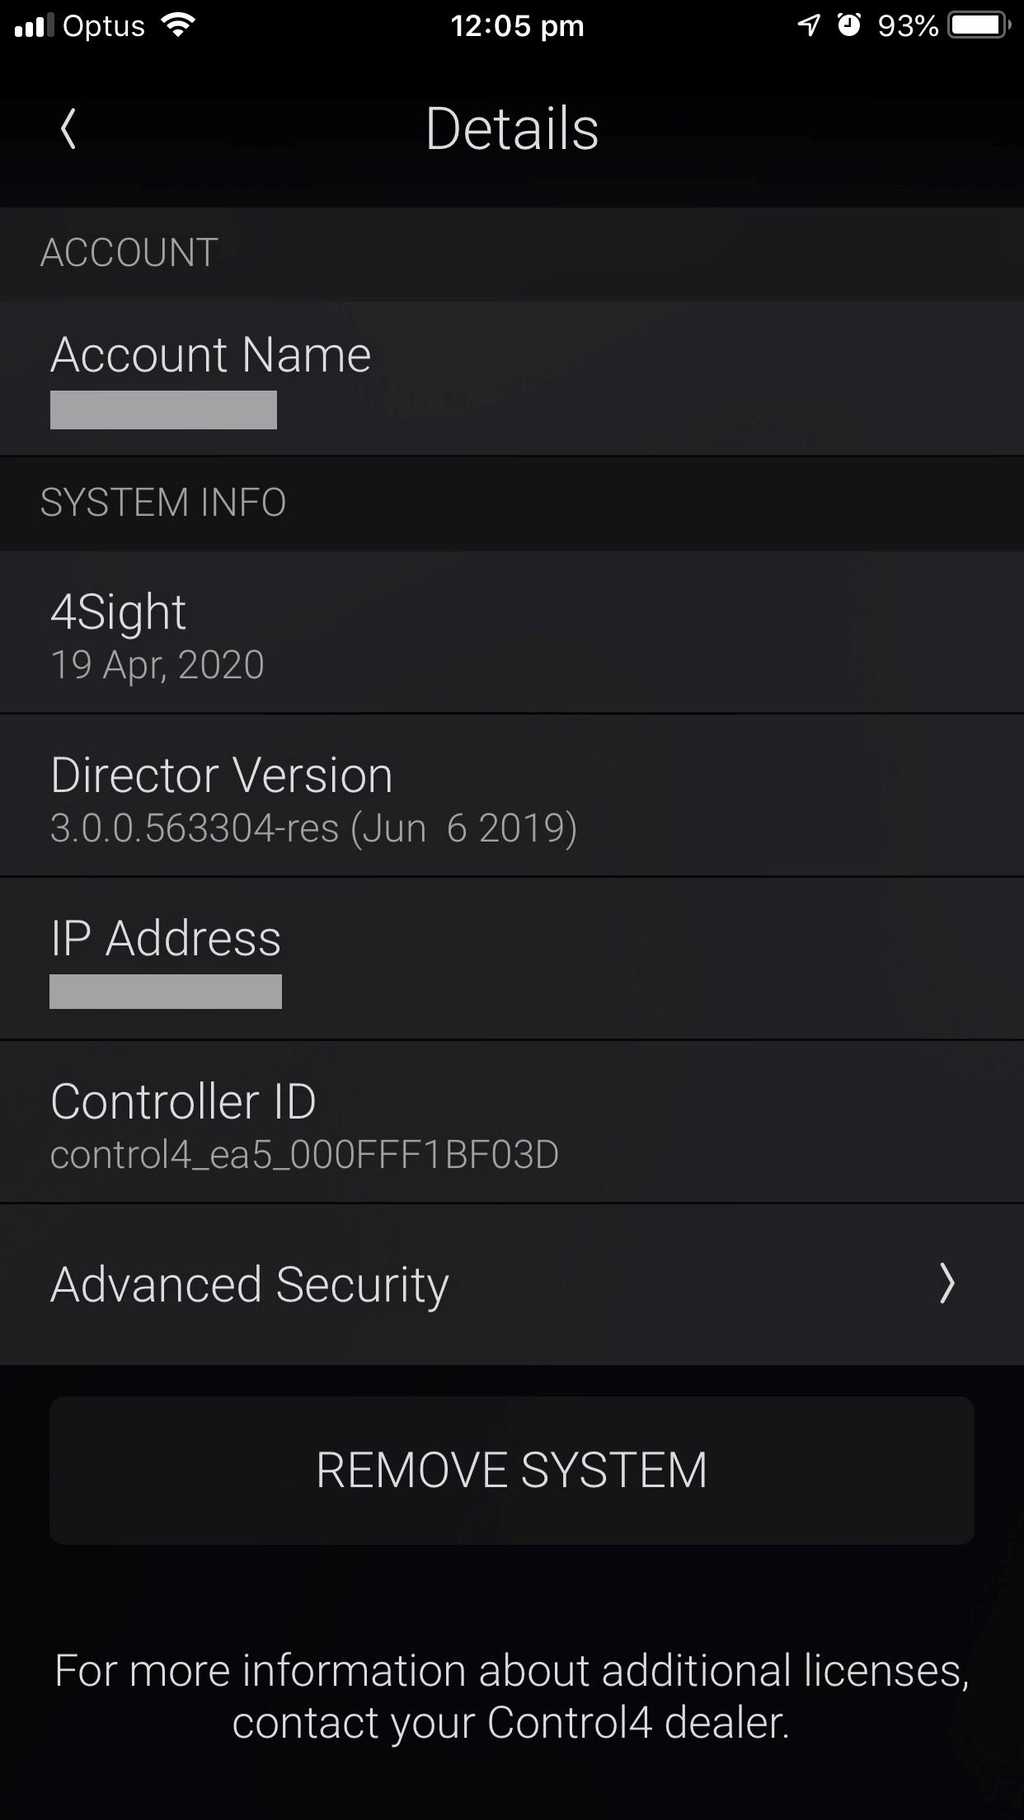
Figure: Select "remove" Control4 is a home automation system that allows you to control devices in your home from a single platform.The Control4 Project Creation process involves several stages and steps, including connecting the Controller, adding devices, creating rooms and scenes, programming the system, and testing and troubleshooting.Each stage includes several steps necessary to create a customized Control4 system.
You'll do most of the steps below in Composer Pro, the Control4 Director.
Follow these stages and steps in order on project creation:
Stage 1 - Connect to the Controller
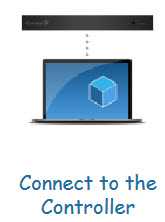
Step 1: Add the Controller Discover the Controller in the Composer software using Simple Device Discovery Protocol (SDDP).
Step 2: Create the Customer's Account Register the customer's account on the Control4 website.
Step 3: Register the Controller
Register the controller online.
Stage 2 - Set Up Project Properties

Step 4: Set Project Information
- Open the Composer software and create a new project.
- Provide a project name, location.
Step 5: Set Customer Information
Provide the customer information in the project.Step 6: Set Lighting Defaults
Configure the lighting color defaults based on the customer's preference.
Stage 3 - Build the Project
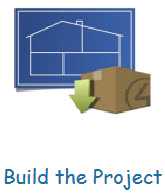
Step 7: Add Rooms Create a list of all the rooms in the customer's home that will be controlled through the Control4 system e.g. Kichen, Bedroom, Foyer.
Step 8: Add Drivers Add the different drivers to control the different devices in the project.
Step 9: Configure Driver Properties Tweak and change the driver properties for each device - don't forget to read the documentation for each driver!
Stage 4 - Make Network Connections
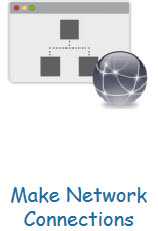
Step 10: Identify IP Devices
Identify the IP devices in the system via the Network tab in Composer.Step 11: Turn On Zigbee Turn on your Zigbee controller, so you can start identifying Zigbee devices.
Step 12: Identify Zigbee Devices Start joining your Zigbee devices into the project by the 4-tap method.
Stage 5 - Map Physical Connections
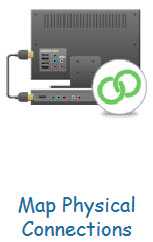
Step 13: Make Control/AV Connections
Connect your devices to each other via the various available connections in each.Step 14: Make Room Endpoint Connections
Determine which devices are your endpoints in each room.
Stage 6 - Design the Experience
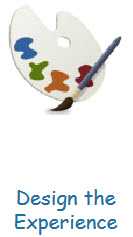
Step 15: Interact with the client
An iterative process where the installer works together with the client to give them the best interface and home experience.- Navigator Configuration
Configure the Control4 app and screens to give the expected and best experience to the client. - Driver Connections
Connect drivers and loads together to seamslessly automate the building. - Agents
Use agents to extend Control4 functionality. - Programming Program and design the automation and interactions.
Control4 Agents are essential components of a smart home system that automate various tasks and functions.
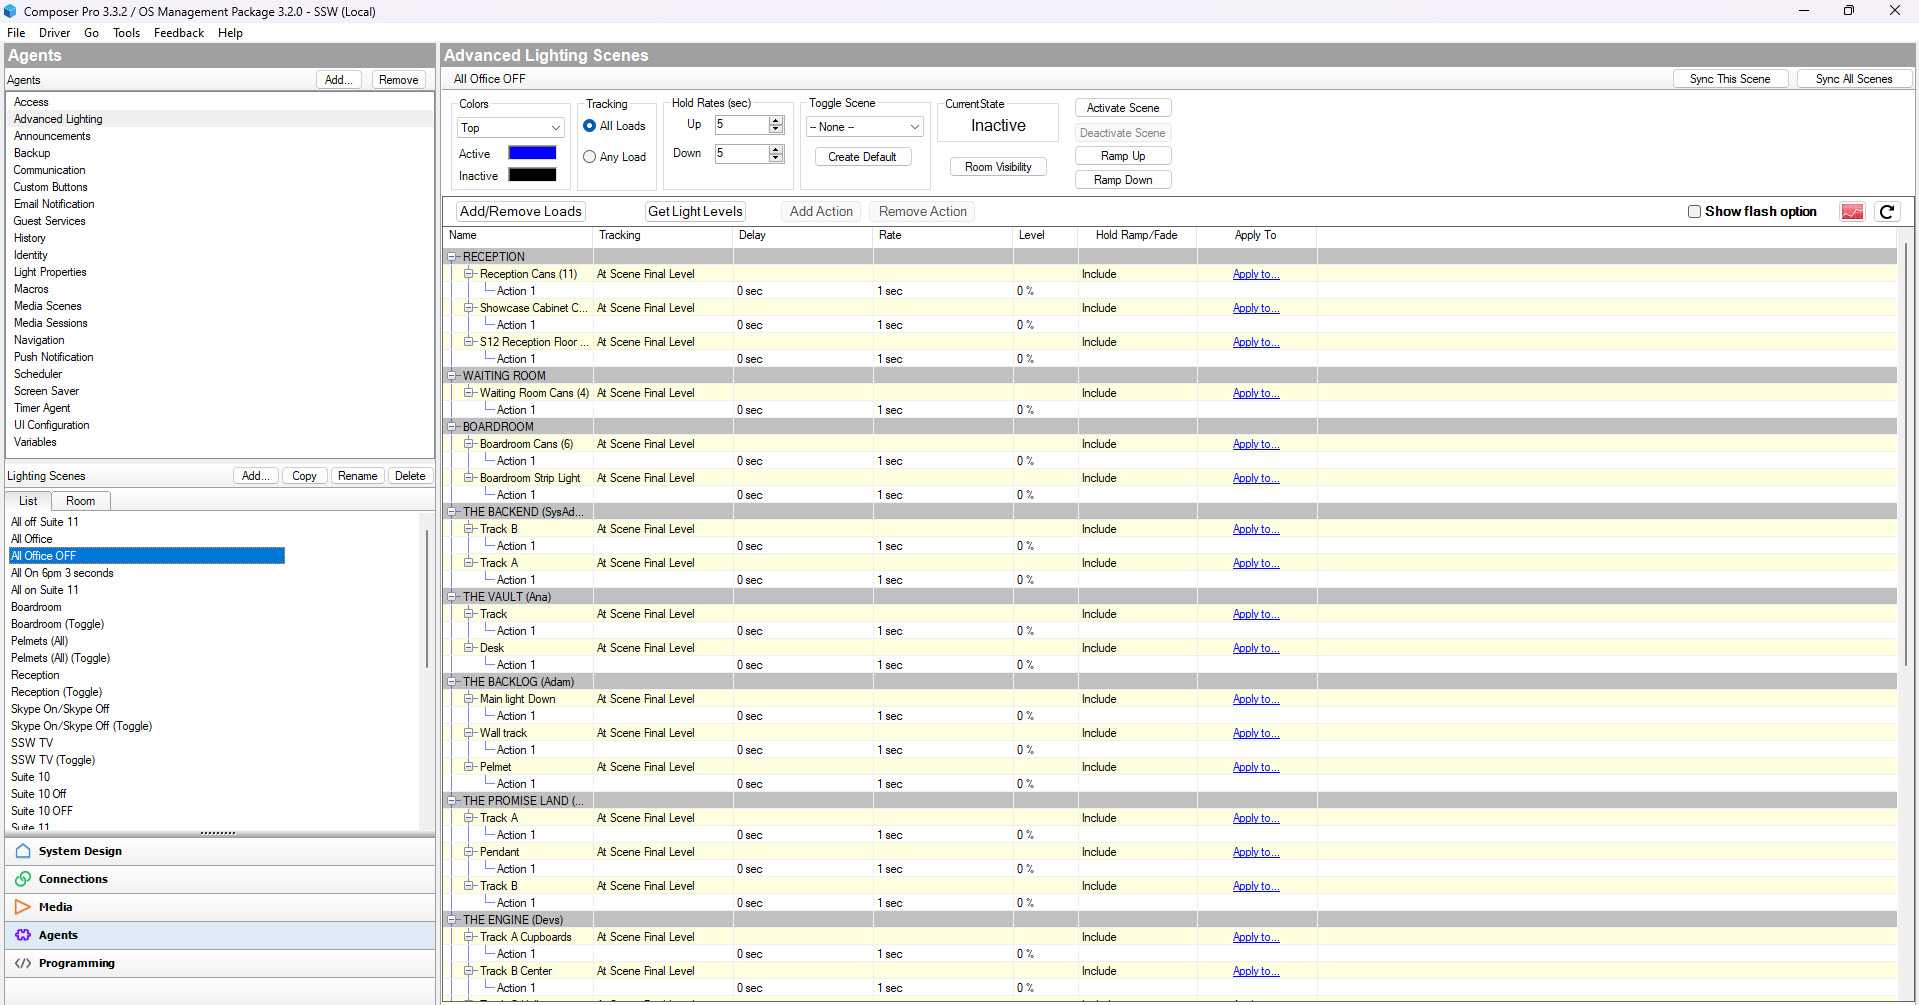
Advanced Lighting
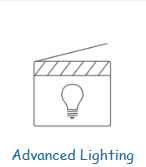
This agent allows for advanced lighting control, such as creating custom lighting scenes and schedules e.g. you can orchestrate ramping up the level of lights from 0 to 100% over 5 seconds to create a nice mood.
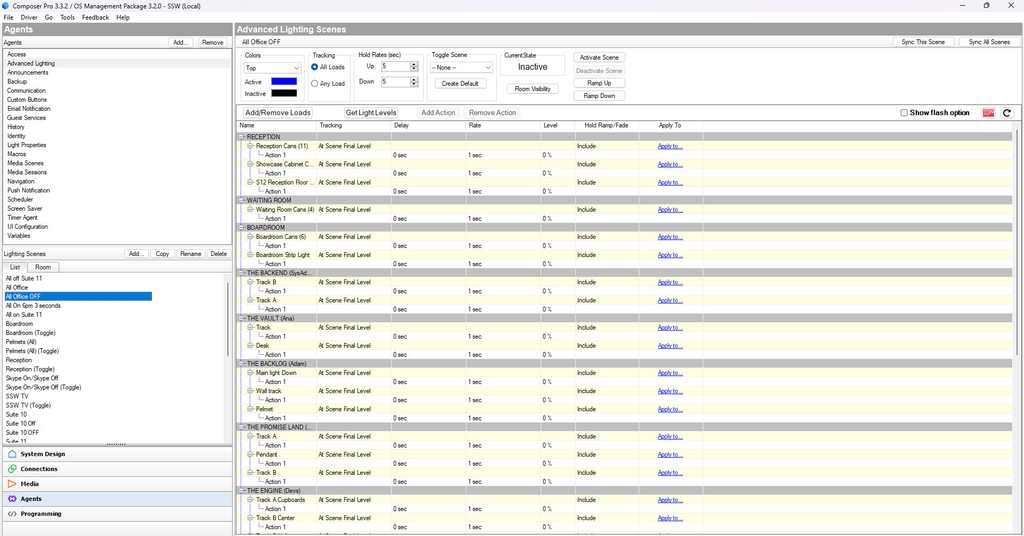
Good Example - Advanced Lighting agent in Composer Pro showing some nice lighting moods and automation Scheduler
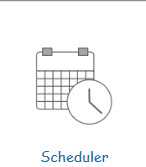
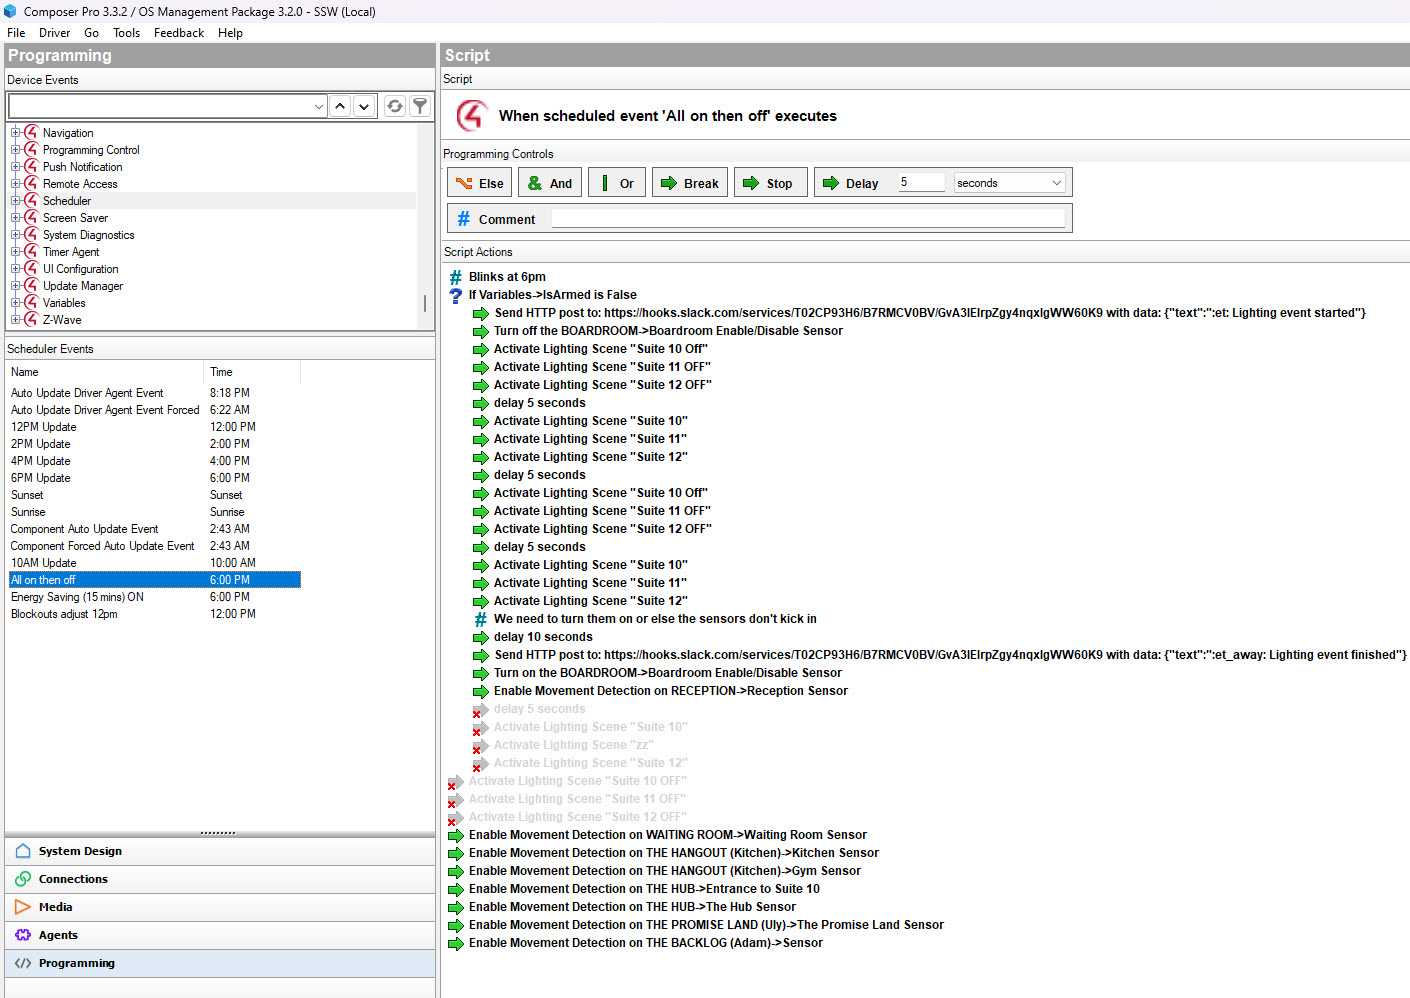
Schedules events, used for automation triggers e.g. at 6pm you could have all the lights in your office blink to remind people to go home.
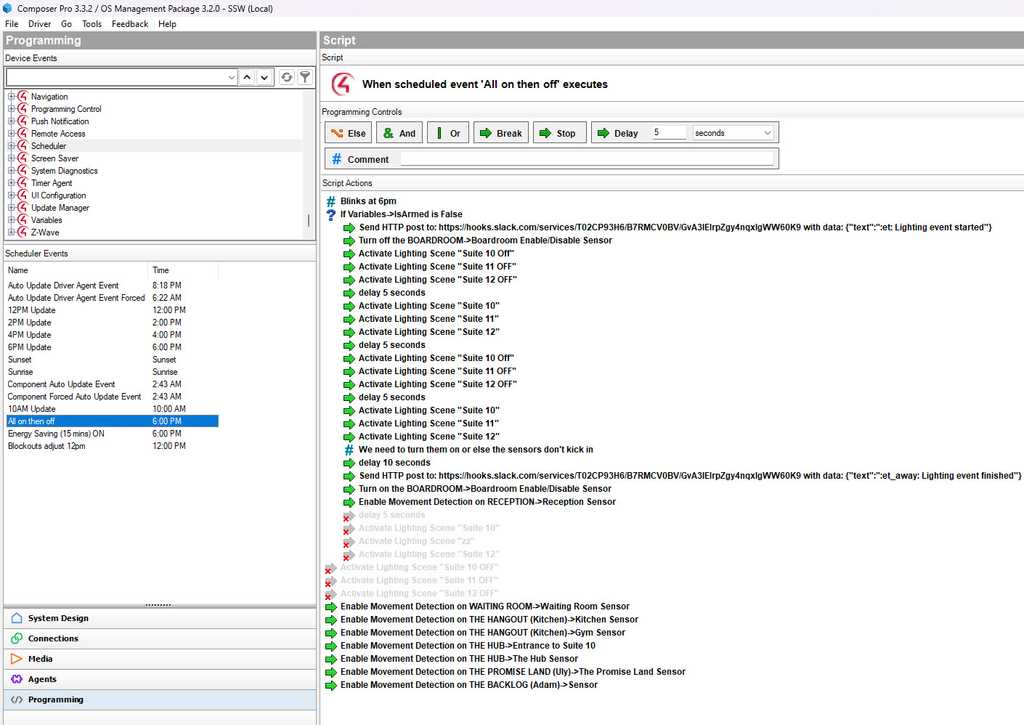
Good Example - Scheduled events can happen in any schedule you need, allows you to use time in your automation Communication
Provides communication capabilities between Control4 devices and other systems, such as security systems and intercoms e.g. you can talk to people at your door from your Control4 touchscreen.
Announcements
Allows users to create custom announcements and messages, which can be played through speakers throughout the home.
Macros
Allows users to create custom macros, which are groups of actions that can be triggered with a single command e.g. play a playlist every time a different keypad button is pressed around your house, make a shutdown event that can be triggered by different devices on the office
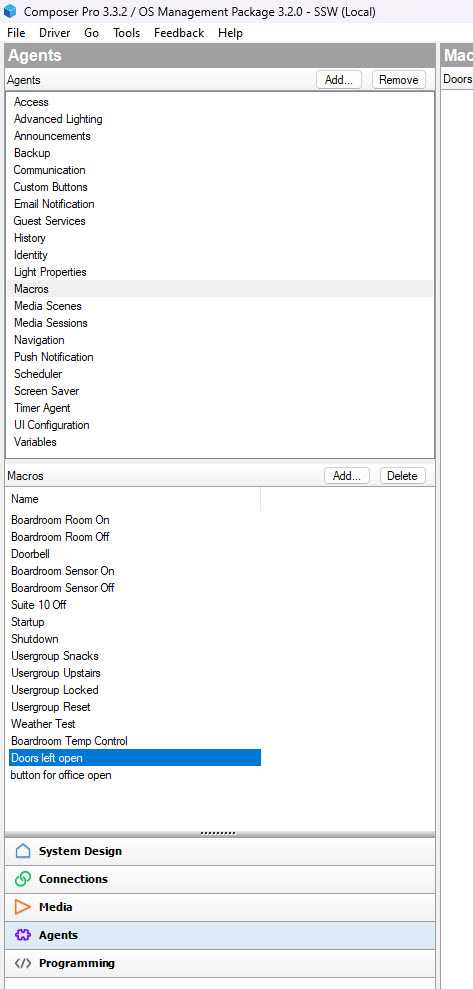
Good Example - Different macros created for repetitive tasks Wake/Sleep
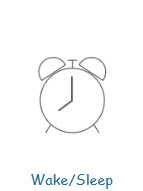
Provides “Alarm Clock” and “Sleep Timer” functionality e.g. get an alarm going at 6 in the morning in the bedroom to wake up your family!
Navigation
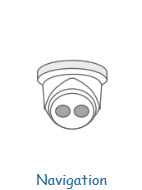
Provides a programming pathway for camera feeds e.g. you can show the doorbell camera on your Control4 touchscreen when someone walks by your door.
Custom Buttons
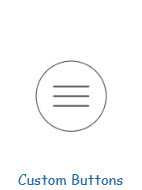
Allows users to create custom buttons, which can be programmed to trigger specific actions or events e.g. you don't need to have physical keypads only, you can also add keypads in the Control4 app and touchscreens and customize it the way you want!
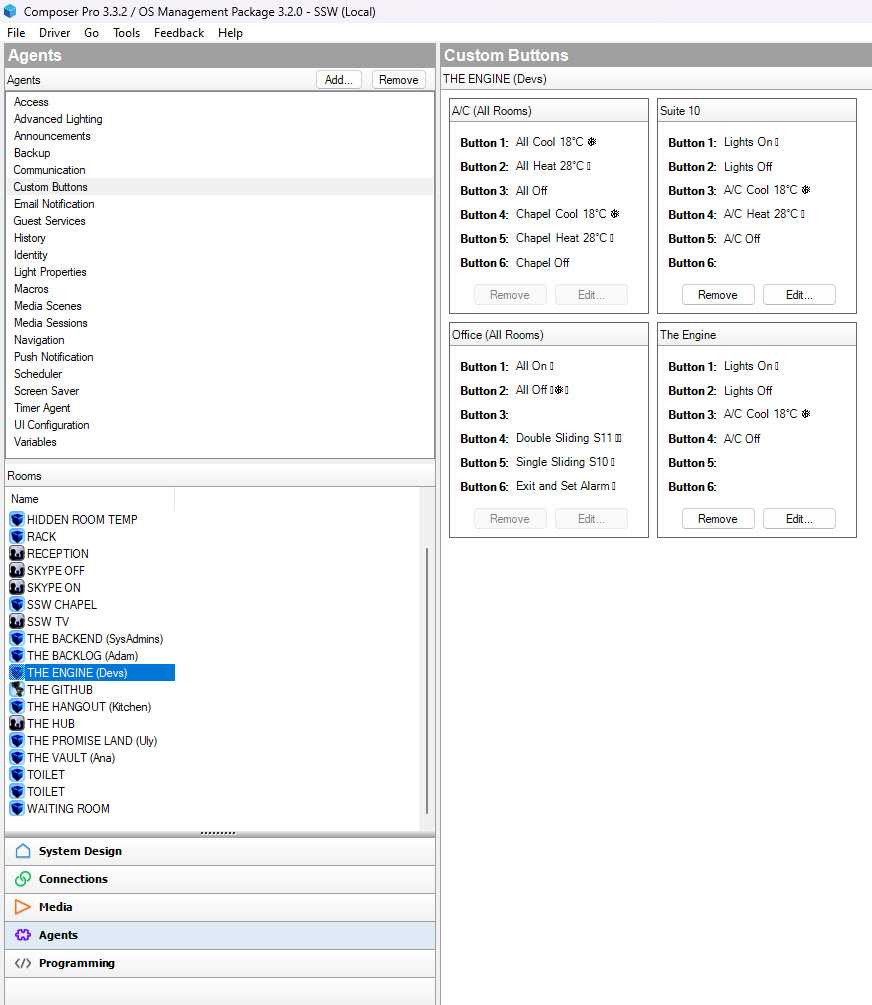
Good Example - Custom buttons created to be pressed via the Control4 app By using Control4 Agents, users can customize and automate their smart home system to fit their specific needs and preferences.
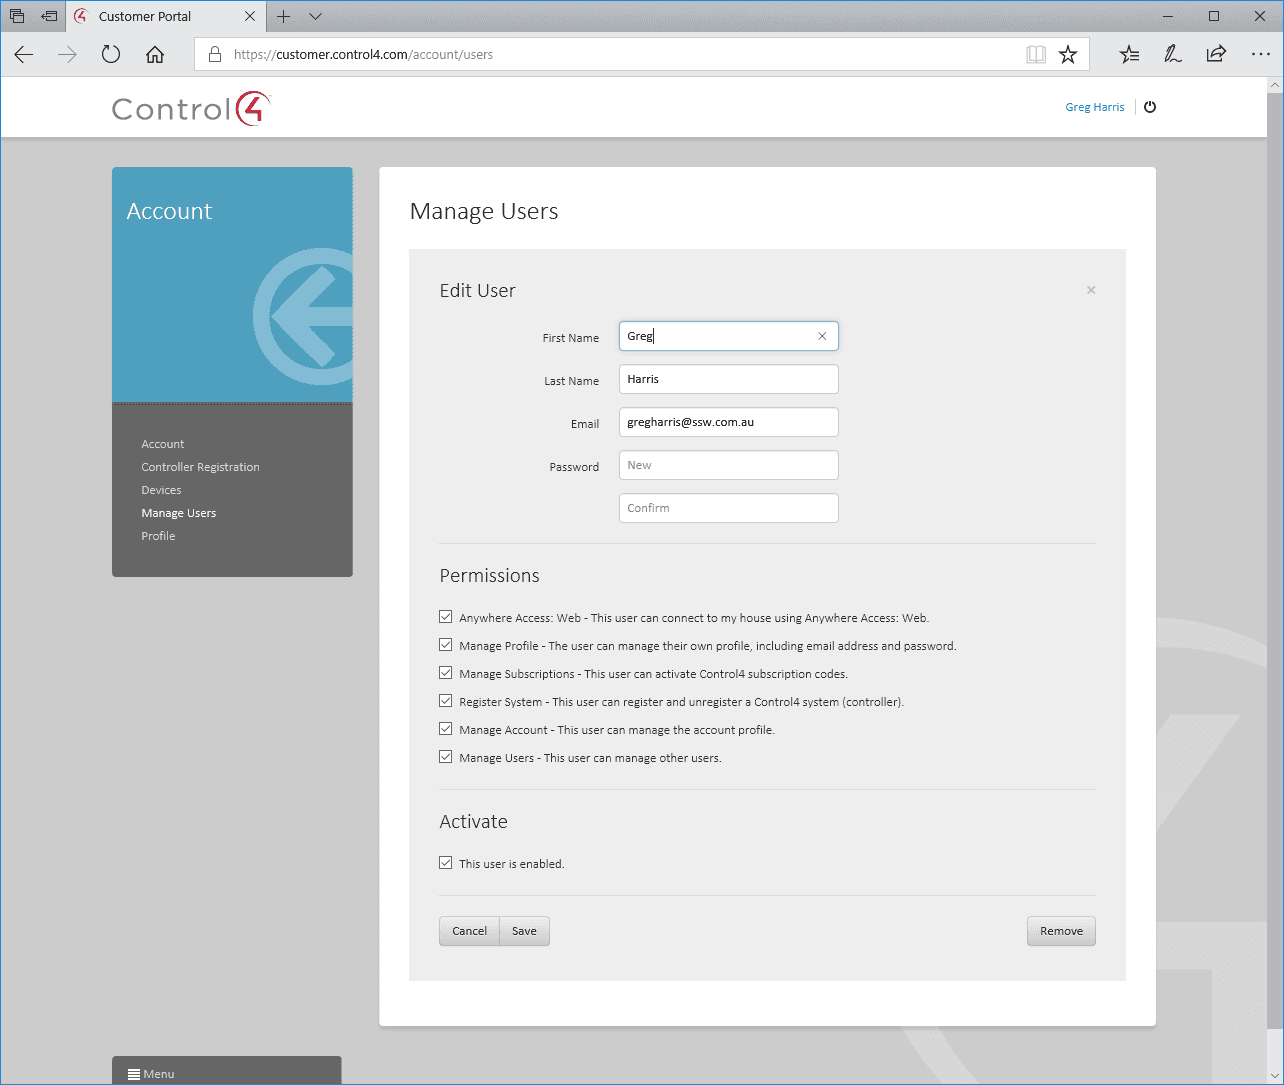
Some companies incorrectly share a user account and many people use it. This is easy initially but creates problems later on.
Each user should use their own account. If users share a single account, and you need to remove their access, you would then have to change the password and inform all other users.
If everyone is using an individual account, it is as simple as disabling (or deleting) their account.

Figure: Use the Customer Portal to add accounts for all users
Do you know who is entering your premises, when, and how? Keys or key-cards can be expensive, they can be lost, and people can loan them to one another without any restriction.
There are all kinds of ways to monitor access to your building and more secure areas. While fingerprint scanners are a good way of monitoring and restricting access, they are difficult to use in practice. Not everyone has great fingerprints, and access can be sketchy and frustrating when it doesn't work.
The best way to do control your Smart Office and Smart Home access is to use an automated NFC (an acronym for Near Field Communication) Access System like Unifi by Ubiquiti.
- You only need your mobile phone, so there are no keys to lose or replace
- It is easy to add or remove access for staff and visitors
- You can see who is coming and going and when
- It can connect to your security cameras for additional security
To see more about how the system works, watch this video from Ubiquiti UniFi Access:
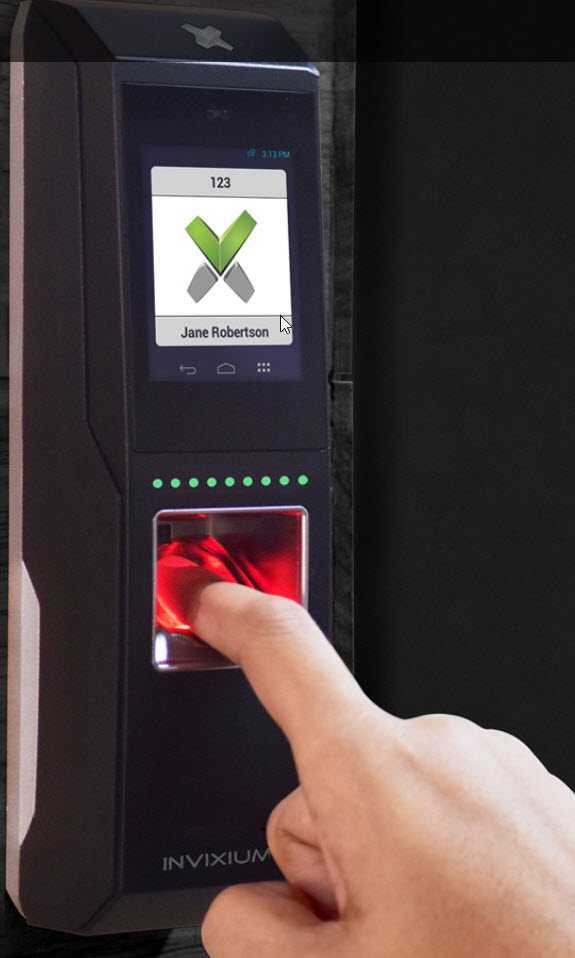
Figure: Bad example - Fingerprint scanners may give an inconsistent User Experience, not fun for your guests 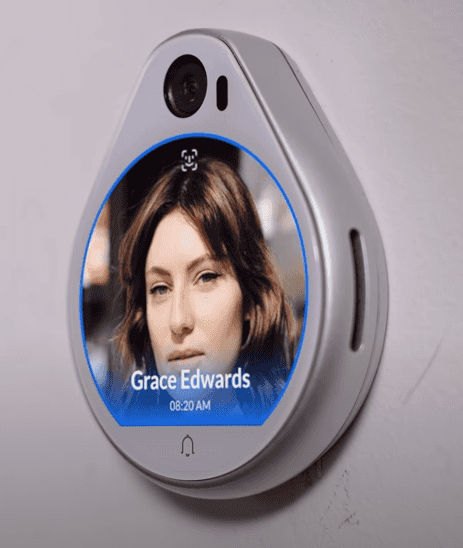
Figure: Good example - Access Systems allow you to use NFC devices to easily access the premises! If your project gets corrupted or if the changes you made caused unexpected issues, do you have a backup of your Control4 project to rollback to?
You should configure Control4 to automatically backup your changes to the cloud. You configure this in composer under Agents | Backup.
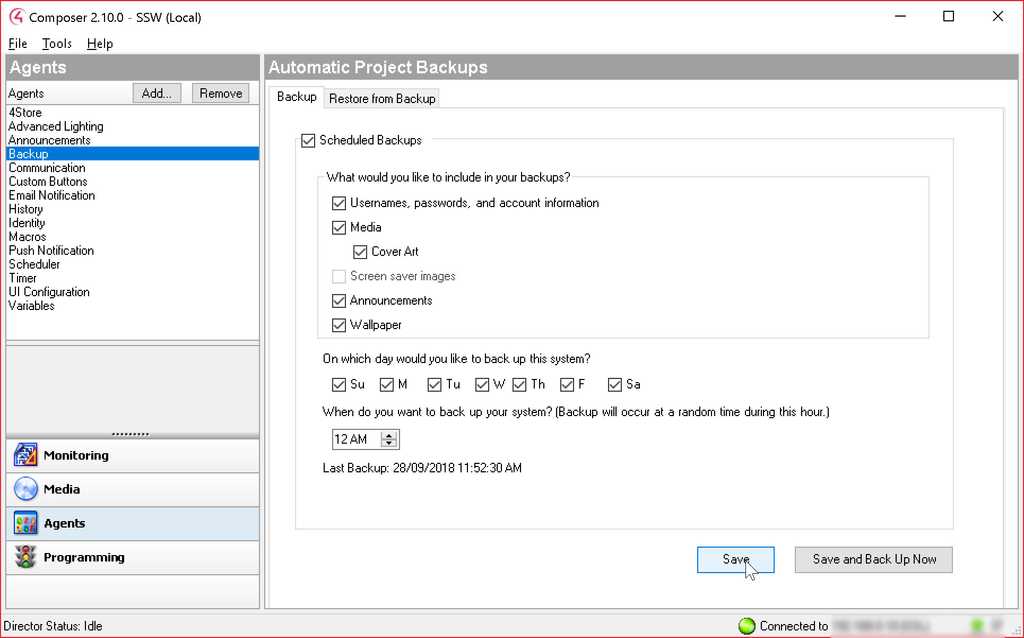 Figure: Configure backups in Composer under Agents | Backup
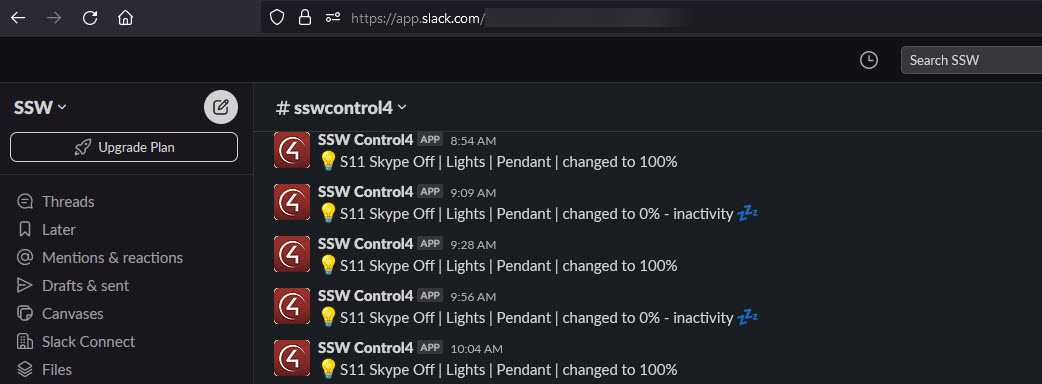
Are you tired of missing important Control4 notifications? Fear not! We have a solution for you. By using the "Incoming Webhook" integration in Slack, you can receive Control4 notifications directly in Slack. 📣💬
To set up Control4 notifications in Slack, follow these steps:
- Open Slack and go to your desired channel or create a new one dedicated to Control4 notifications 📢
- Click on the channel name and select "Add apps" from the dropdown menu 🔌
- Search for "Incoming Webhooks" and click on the app to install it
- Configure the webhook by providing a name for it and selecting the channel where you want the notifications to appear 📝
- Copy the generated webhook URL. This will be used to send Control4 notifications to Slack
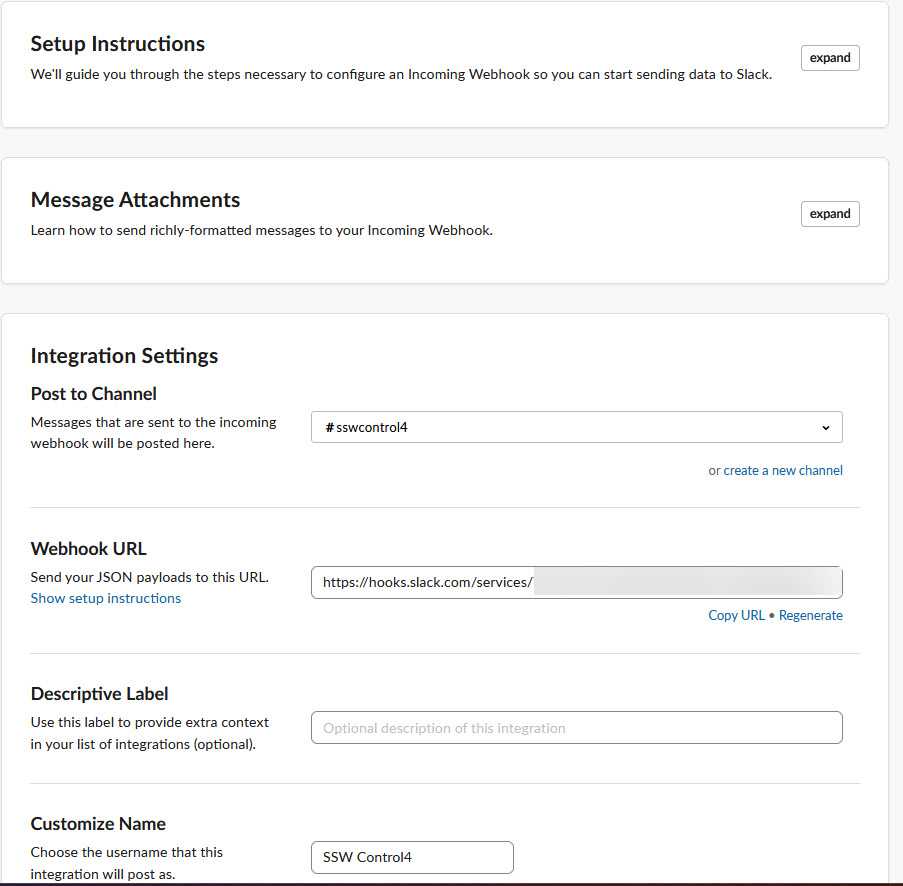
Figure: Good example - Slack Integration window - In your Control4 system, navigate to the Composer software and open your project
-
Configure the "Generic TCP command" by providing the necessary details, such as the Web address and Post Data
- Web Address: Your Slack Webhook URL e.g.
https://hooks.slack.com/services/Taaqw3H6/B7RMC66yBV/GvA3IEIrpZgy4nqssddsaa - Post Data: The message contents (payload) to be delivered to Slack e.g.
{"text":":key:Reception Door Success"}
- Web Address: Your Slack Webhook URL e.g.
- Save the TCP command settings and test it out by triggering a Control4 event that will execute the TCP command 🚨
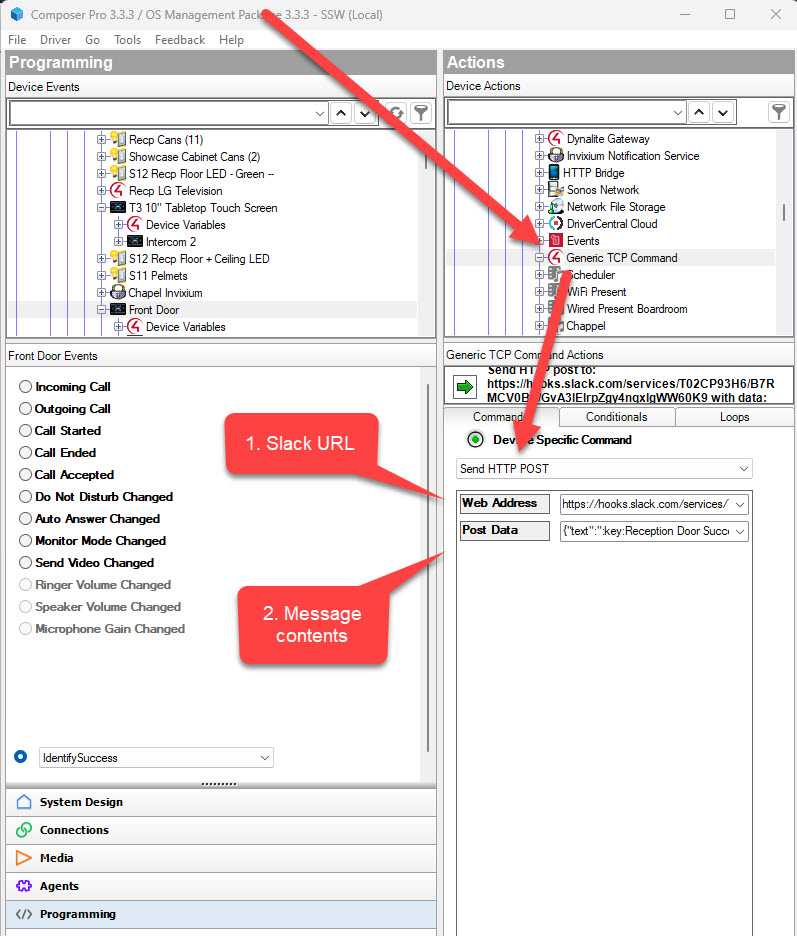
Figure: Good example - Setting up a Generic TCP Command in Composer That's it! Now you'll be able to send Control4 notifications to Slack using the generic TCP command in Control4 Composer. 🙌

Figure: Good example - You can send any kinds of notifications to Slack Remember, using the "Incoming Webhook" integration in Slack and the generic TCP command in Control4 Composer is a powerful combination for seamless notification integration. It keeps everyone in the loop and makes collaboration a breeze! 🤝
Don't let important alarm events go unnoticed! With Control4, you can set up notifications to keep everyone informed when an alarm is triggered. 📣🚨
This uses the "Push Notification" agent in Control4.
To ensure that people are promptly notified when an alarm is triggered in Control4, follow these steps:
- Open the Control4 Composer software and navigate to your project. 🏠
- Access the "Agents" section in and create an "Alarm Triggered" push notification. This is the message that will appear on whoever has the app installed when it triggers!🔒
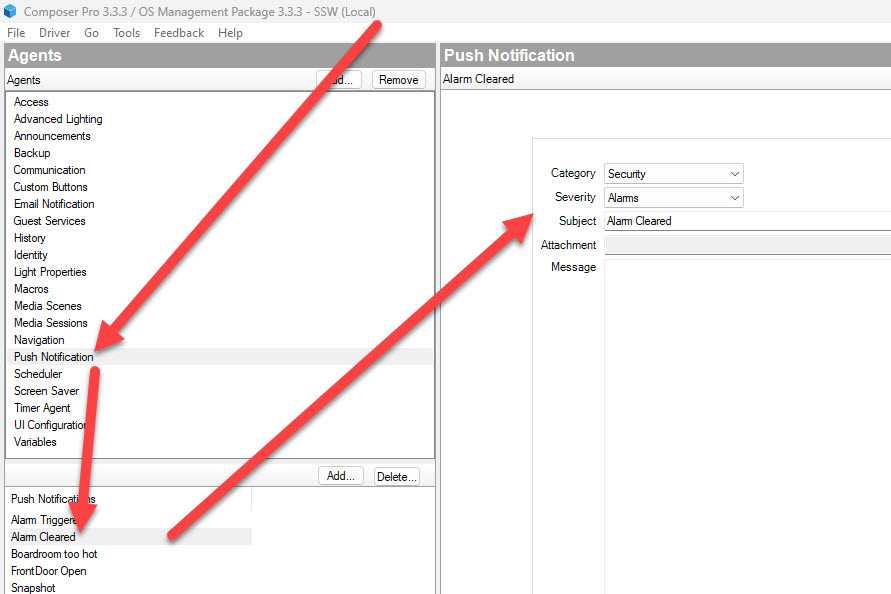
Figure: Good example - You can also create Push notifications for other purposes - When done, go to "Programming", and go to your Security Panel driver that handles alarms.
- Add the "Send Push Notification" action in Composer. 📧💬
- Customize the notification message to include relevant details such as the type of alarm, the location, and any additional instructions. 📝
- Test the alarm system by triggering an alarm event. 🚨
- Ensure that the notifications are being sent to mobile phones with the Control4 app installed. 📲🏡
- (Optional) Follow our "Do you send Control4 notifications to a Slack channel?" to send this alert to other channels.
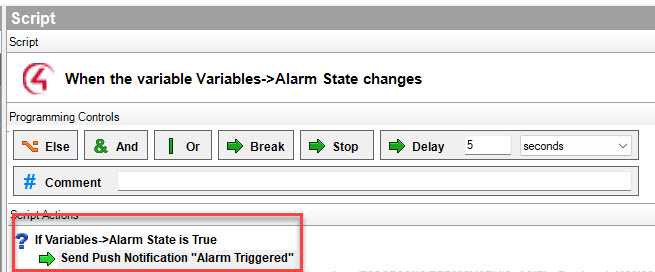
Figure: Good example - Creating an action when the alarm state is on, meaning the alarm has been triggered That's it! Now, whenever an alarm is triggered in your Control4 system, the configured notifications will be sent to the designated recipients, keeping everyone informed and enhancing security. 🙌
Remember, timely notifications are crucial in ensuring a swift response to alarm events. By setting up Control4 notifications, you can provide peace of mind and enhance the overall security of your premises. 🚀🔒
Zigbee is a wireless communication protocol designed for Internet of Things (IoT) devices. It operates on the 2.4GHz frequency band and is a popular choice for smart home automation. Zigbee uses a mesh networking topology to enable communication between devices, providing reliability and flexibility.
It is the wireless protocol choice for Control4.
To ensure optimal performance in a Control4 smart home environment, it is important to follow the Zigbee design principles. These principles include:
Never put a mesh controller in a rack
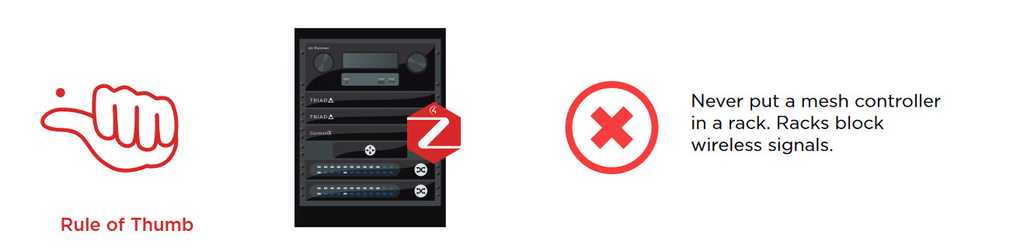
Figure: Mesh controllers and metal racks don't play well together Placing a mesh controller in a metal rack can cause signal interference, resulting in poor performance of the Zigbee network. Instead, locate the mesh controller outside the rack.
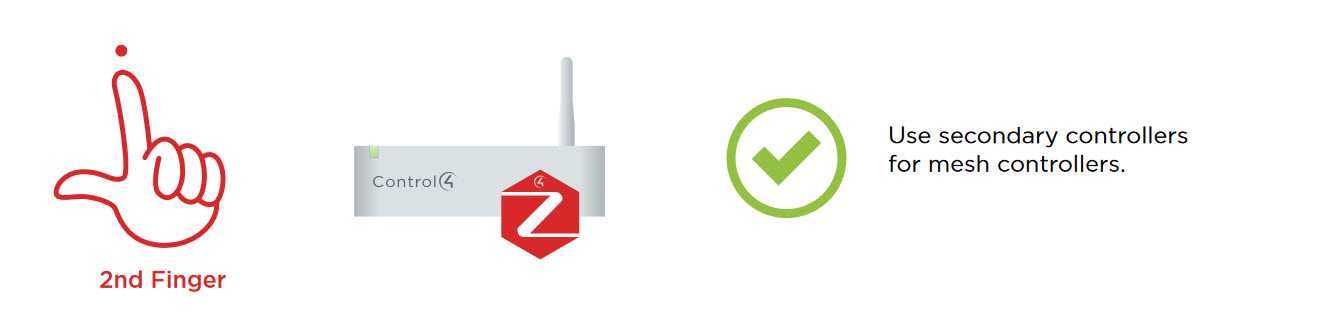
Use secondary controllers for mesh controllers

Figure: Use secondary controllers to improve performance Secondary controllers can be used to control devices connected to the mesh controller. This reduces the load on the mesh controller and improves the overall performance of the network.
Put the mesh controller central to the devices in each mesh
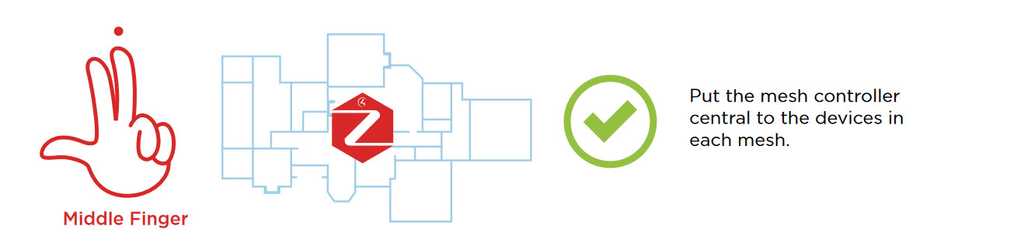
Figure: Centrally locate the mesh controller To optimize performance, the mesh controller should be located centrally in each mesh. This ensures that the signal has to travel the shortest distance to reach all devices in the mesh.
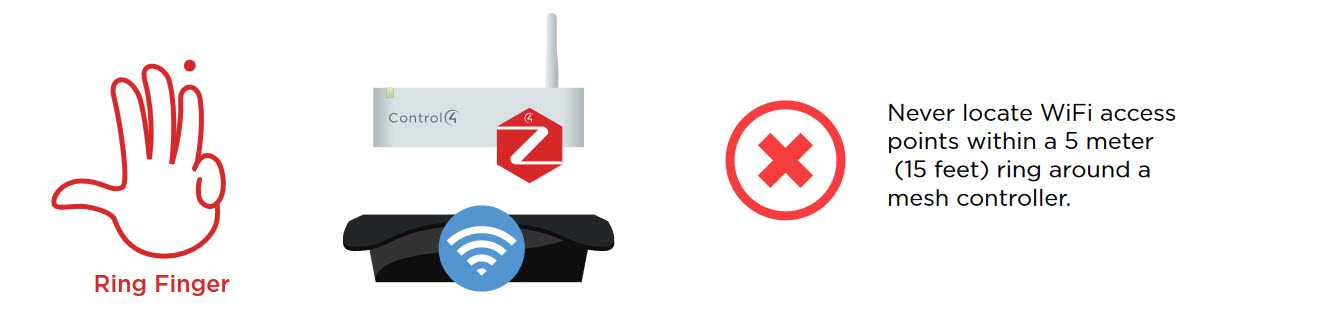
Never locate wi-fi access points within a 5 meter (15 feet) ring around a mesh controller
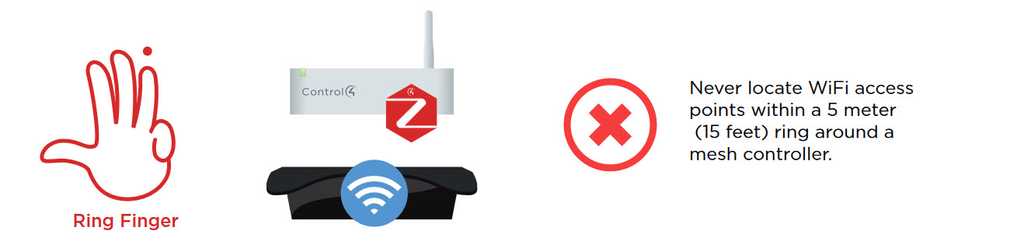
Figure: Keep mesh controllers away from wi-fi access points Wi-fi access points operating on the same frequency as Zigbee can cause interference and degrade the performance of the Zigbee network. Therefore, it is recommended to keep the wi-fi access points at least 5 meters (15 feet) away from the mesh controller.
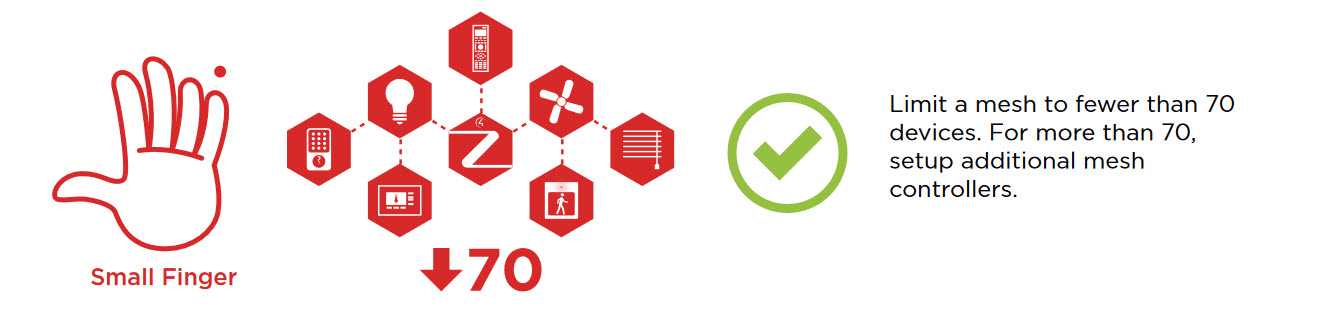
Limit a mesh to fewer than 70 devices
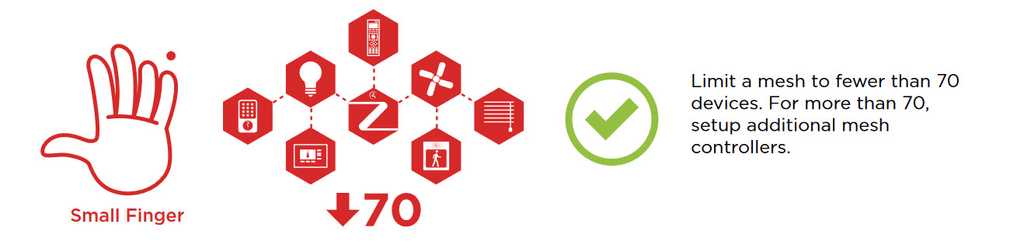
Figure: Don't overload each mesh controller For more than 70 devices, set up additional mesh controllers to share the load.
By following these Zigbee design principles, users can ensure that their Control4 smart home network is stable, reliable and secure.
You can learn more about the above at Control4 - Zigbee PRO Mesh Design Principles.
It's usually easier for users to remember where given information is when it is associated with an image/icon. This is especially true for non-technical people or the ones that are not very familiar with digital workspaces.
An easy and fun way to alleviate this issue and boost user adoption to Microsoft Teams is to use Emojis in your channel names (using Windows Key + .)!
Figure: Bad example - Teams Channel names without emojis 
Figure: Good example - Teams Channel names have emojis 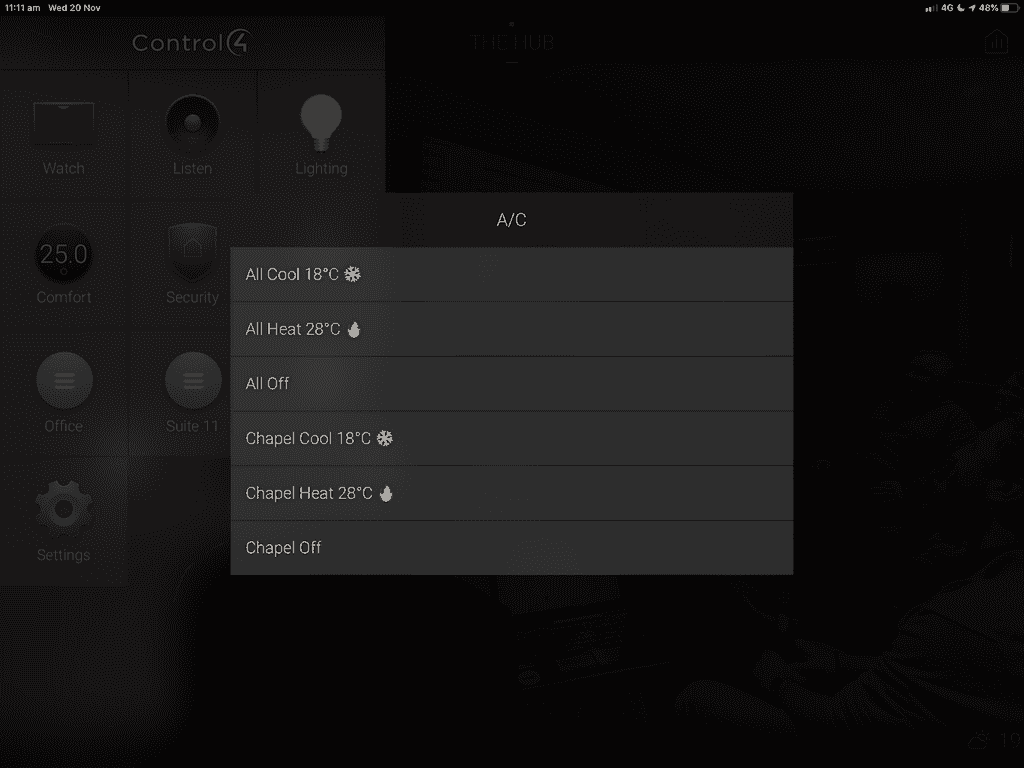
Figure: Good example - Control4 automation Mobile UI is more friendly with emojis 
Figure: Good example - Some appointments can benefit from an emoji too, like a Sprint meeting in Scrum - Fast to load (lightweight as no image)
- UI - Consistent look
- Maintenance of needing to upload to server
Bad example - Regular list items
Tip: Always remember to add a space between the emoji and text, for better readability.
✅ Fast to load (lightweight as no image)
✅ UI - Consistent look
❌ Maintenance of needing to upload to serverGood example - Emojis give context to each item
Note: When having lists that use emojis, be aware that if they are longer than 3 items, you should follow DRY - avoid repeated elements.
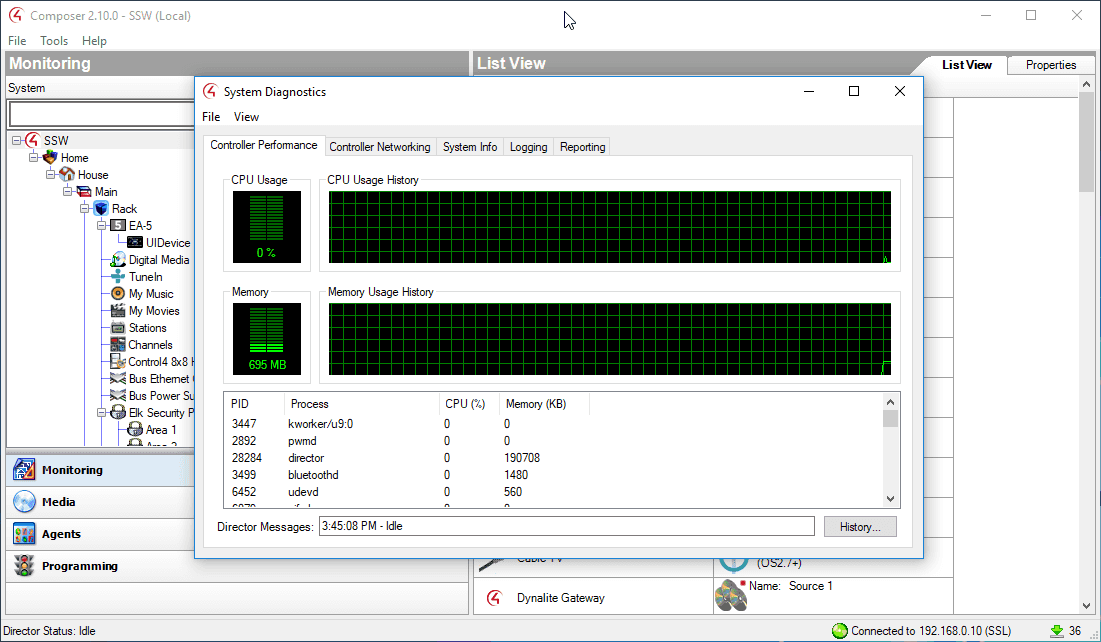
If your Control4 system is running slowly, there's a System Diagnostics tool that you can use to check CPU and Memory usage, and other details on the Control4 Director box.
To access Control4 System Diagnostics, open Composer.
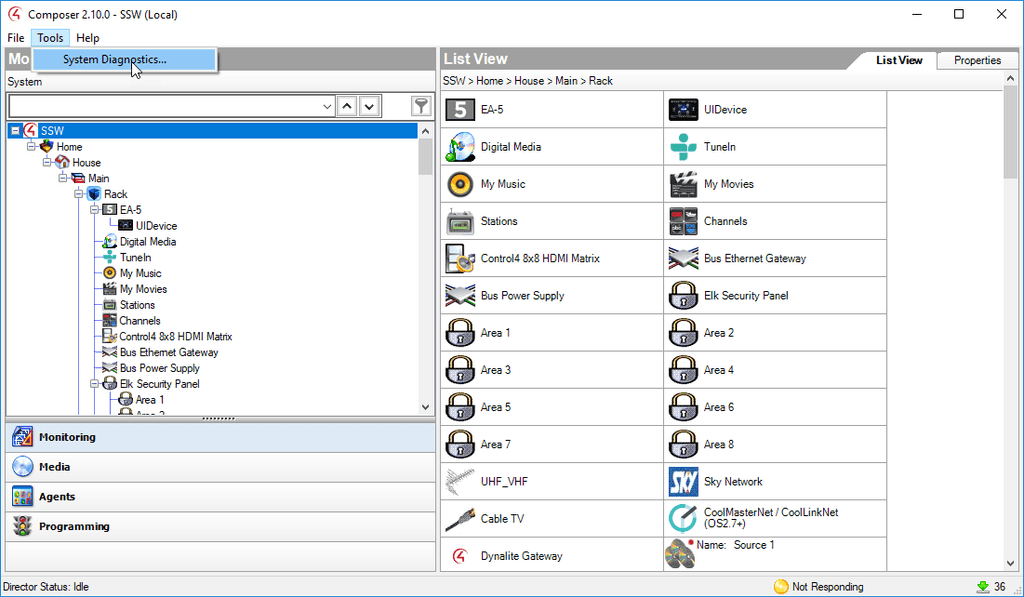
Select Tools > System Diagnostics.

Control4 is a complex and sophisticated smart home automation system that can offer a lot of benefits to users. However, when something goes wrong, it can be frustrating and confusing to figure out how to get the help you need. Thankfully, Control4 offers several escalation paths to get assistance.
Follow these, in order, to solve any problems you might have:
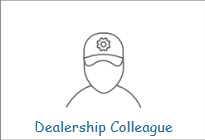
Dealership/Colleague
Your first point of contact should always be your Control4 dealership or colleagues. These individuals have been trained to provide assistance with any issues that may arise. They can provide you with guidance and help troubleshoot any problems you may be experiencing.

Tech Community
The Control4 tech community is a great resource for users looking for help. You can find answers to common questions, join discussions with other users, and get advice from Control4 experts.
Found at https://help.control4.com.
Smart Skills
Control4 offers a range of Smart Skills that provide assistance with specific topics related to the system. These are short videos about specific products and skills.
Found at https://education.control4.com.
Tech Support
If you are unable to resolve your issue through your dealership or other resources, your dealer can contact tech support. First chat, then call; this way you can tackle those difficult problems in no time!
Sales Engineer
This is the last step in Control4 troubleshooting; in cases where tech support can't solve your problem, they will assign you a Sales Engineer that will be onsite to resolve problems then and there.
By knowing these escalation paths, users can feel confident in their ability to get the help they need when they encounter issues with their Control4 system.