Do you know how to add a print server?
Loading last updated info...
When you are connected to the company's network, you should complete the following procedure if you want to setup a printer server.
For Windows Server
Steps to add a printer to Active Directory:
- In Windows Run | Type "printmanagement.msc" | Hit Enter
- Right-click 'Print Server' | Choose 'Add/Remove Servers' | Add IP address or computer name | Finish
or
Right click the 'Print Server' | Add printer | Choose the best option (e.g TCP/IP) | Put the IP address of the Printer | Finish
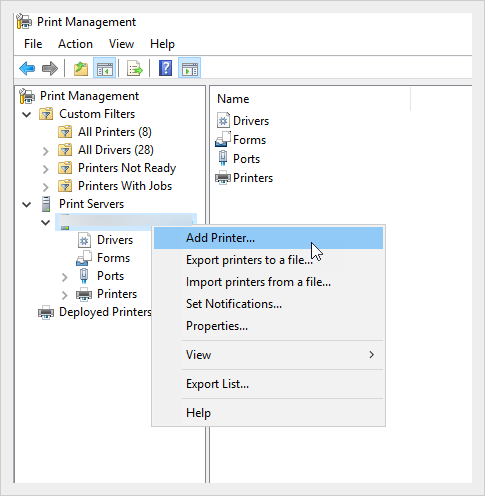
Figure: Add Print servers to AD
- Add DNS entry for your print server (e.g \printer) to make it friendly for the users to find
Note: Another method is using a Universal Printer in Azure https://azurescene.com/2020/04/10/how-to-configure-universal-print/
Finding the Printers
Now your users can find the printers by doing the following:
- In the File explorer | Type \printer on the address bar to show all the printers connected to the server
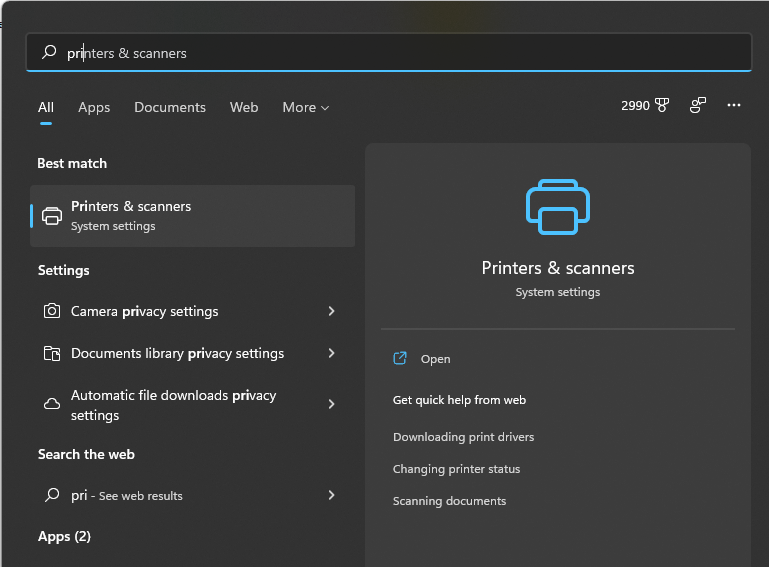
❌ Figure: Bad example – Windows 11 | Printers & scanners - Users won’t see all the printers by default
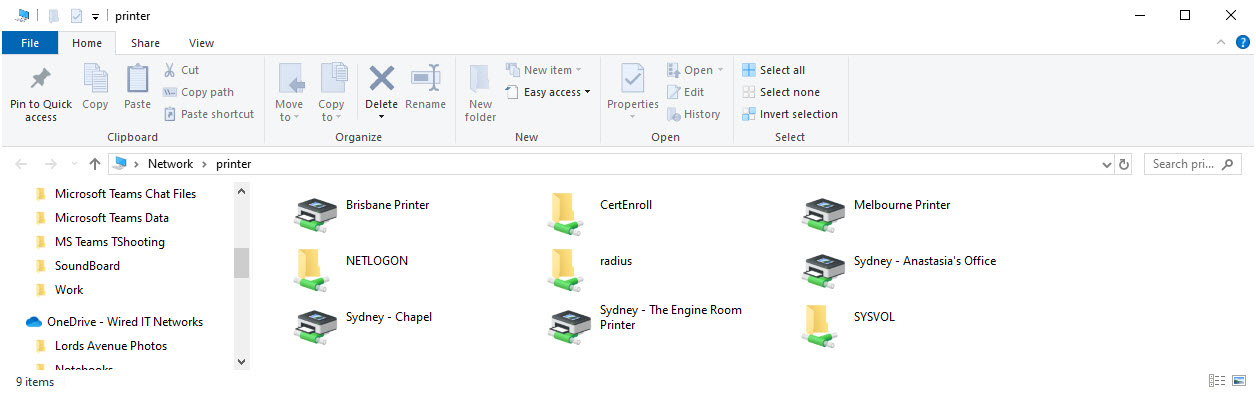
✅ Figure: Good example - Printers listed in Printer Server
- Double click on your printer name to connect/add it. Follow prompt to finish the printer driver installation