Do you optimize images for web?
Loading last updated info...
A nice looking image can be harmful to your website if it's not optimized. It's important to optimize images for the web because the fewer bytes the browser has to download, the less bandwidth the client uses, and the faster the browser can download and render your content on the screen.
The first thing is to save your graphics in the right format and size. After that, you should run an image optimizer.
Some tips and techniques to keep in mind as you work on optimizing your images:
- Use automated tools to ensure that all of your images are always optimized (E.g. Optimizilla)
- Don't be afraid to dial down the "quality" settings if the results are very good and byte savings are significant
- Remove unnecessary image metadata like geo information, camera information, and so on
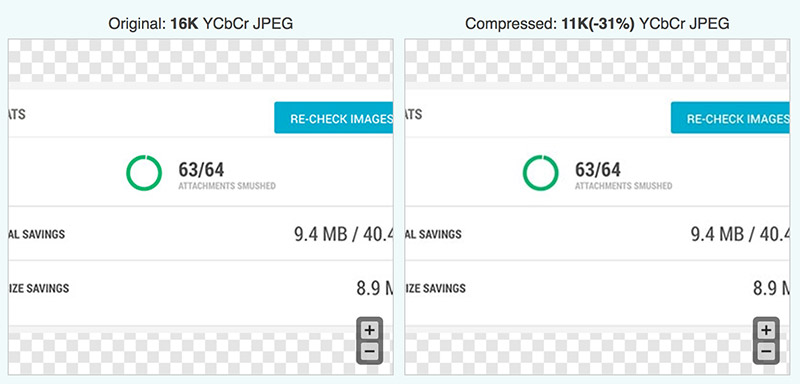
Figure: Optimizilla reduced the image in 31%
WordPress
If your website is running on WordPress you should install and activate the plugin WP Smush. It scans every image you upload – or have already added to your site – cuts all the unnecessary data and scales it for you before adding it to your media library.
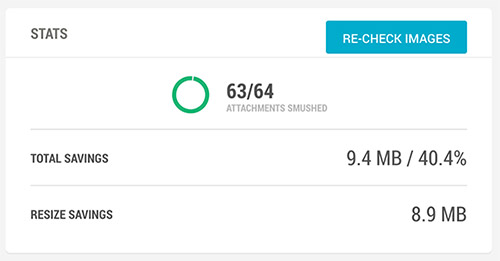
Figure: WP Smush plugin saved 9.4MB from one website
Modern alternative: Use Next.js for automatic optimization
If you are building your site with a modern framework like Next.js, you can eliminate manual image optimization from your workflow entirely. By using the built-in <Image /> component, the framework handles the heavy lifting automatically:
- On-Demand Compression - Next.js resizes and compresses images on the fly. You can upload a high-resolution "master" image to your CMS, and the framework will serve a perfectly sized, compressed version to the end user
- Modern Formats (WebP/AVIF) - It automatically detects if a user's browser supports next-gen formats like WebP or AVIF and serves those instead of older, heavier JPEGs or PNGs
Your content editors can simply upload high-quality images to a Headless CMS (e.g. TinaCMS) without worrying about "running an optimizer". The developer configures the rules once, and the framework ensures every visitor gets an optimized experience.
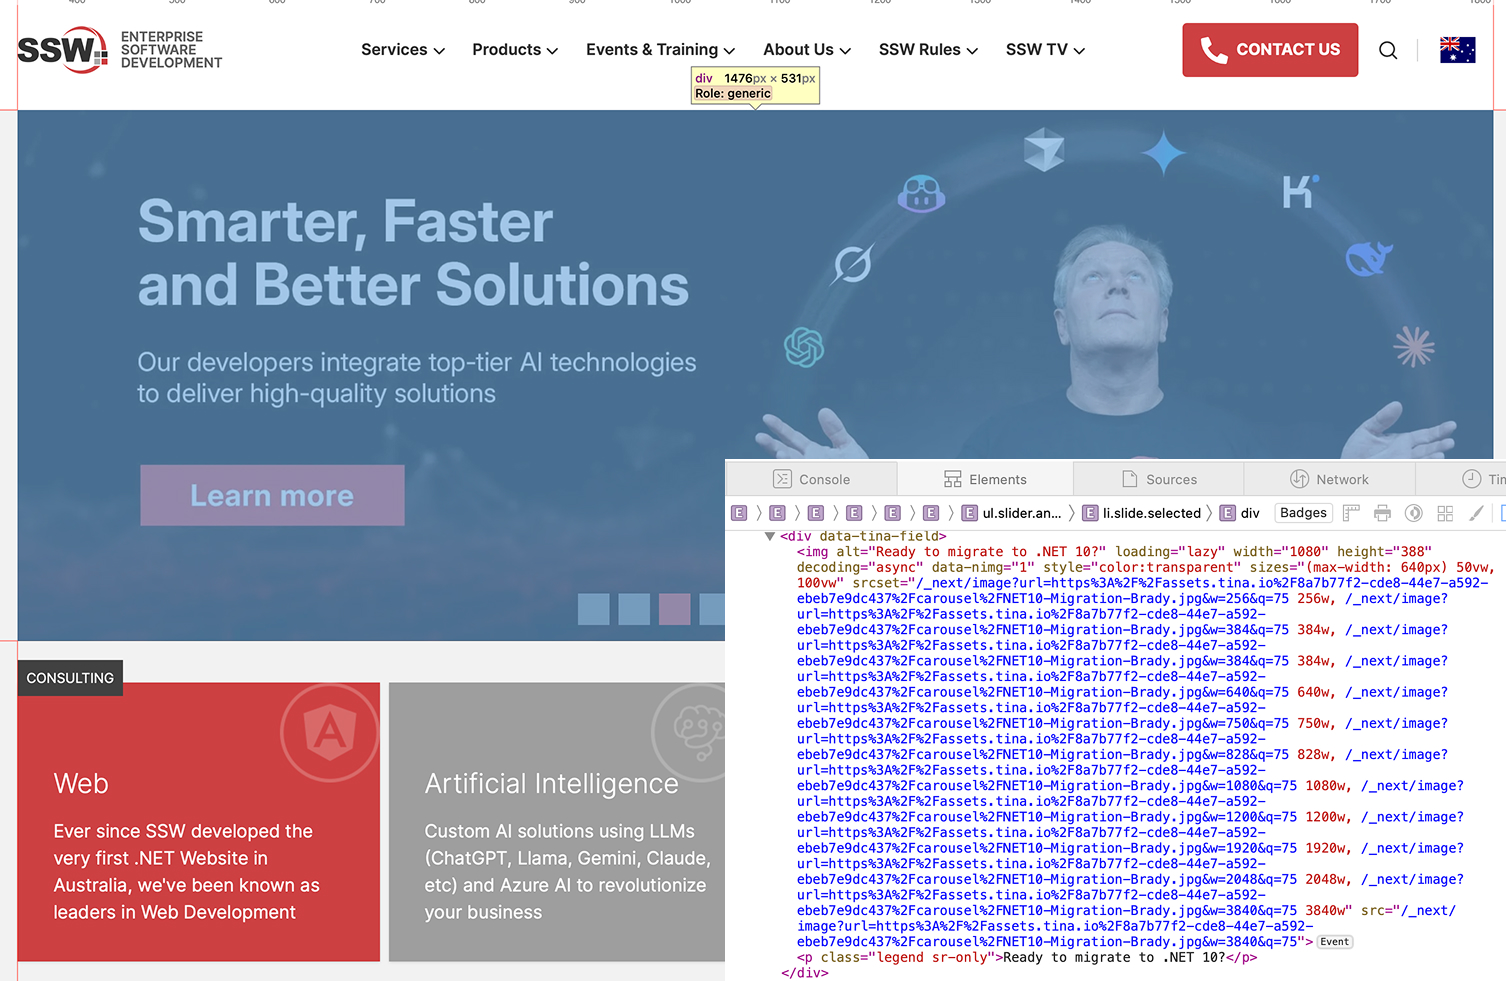
✅ Figure: Good example - Multiple alterations of the source image are created when uploading via TinaCMS to ensure optimal performance.