Do you set up your mailbox in CRM?
Loading last updated info...
If you want to track appointments and emails in Microsoft Dynamics 365 (CRM), you first need to set up your mailbox in the system.
Do the following:
- Browse to your Dynamics 365 Online URL | Advanced Settings | Settings | Email Configuration | Mailboxes | Browse for your mailbox:
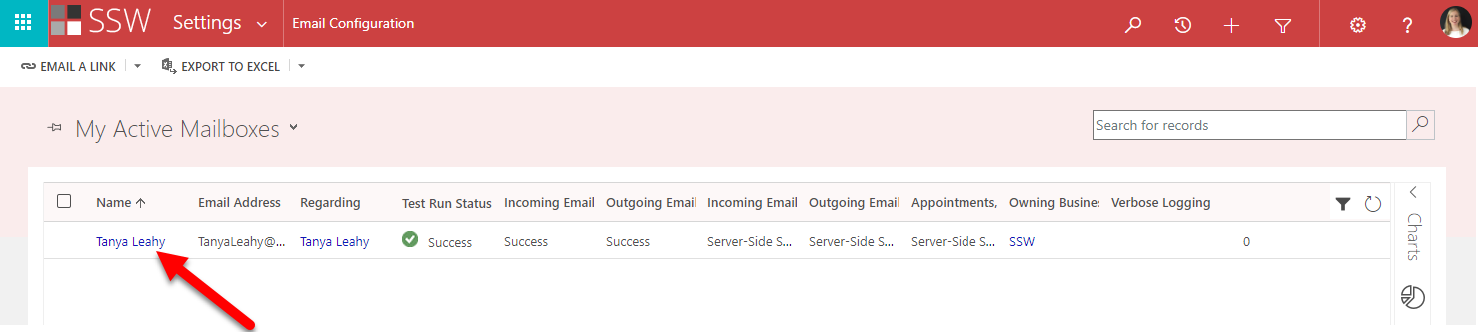
Figure: You should see your mailbox. Click the link on Name and it will open up your mailbox settings
- Make sure the following options are set (they might differ a bit depending on your CRM configuration):
- Allow to Use Credentials for Email Processing: No
- User Name:
UserName@company.com - Server Profile: Microsoft Exchange Online
- Incoming Mail: Server-Side Synchronization or Email Router
- Outgoing Mail: Server-Side Synchronization or Email Router
- Appointments, Contacts, and Tasks: Server-Side Synchronization
- Click Test & Enable Mailbox If successful, you will receive an email, if not, contact your nearest SysAdmin
- Click Save & Close!
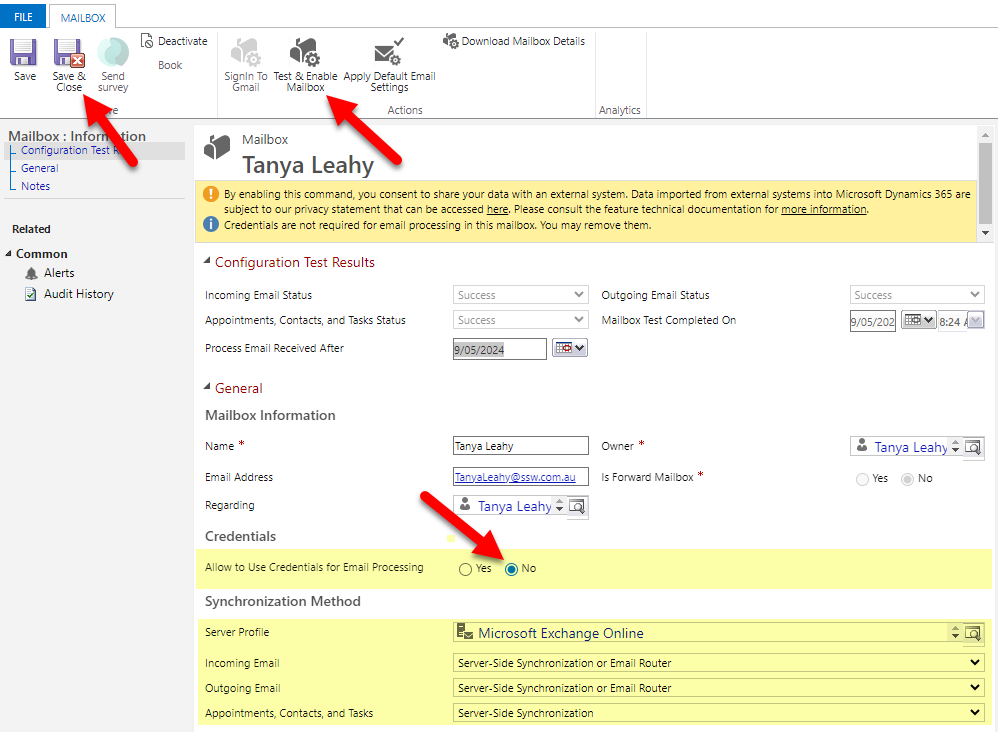
Figure: Setting up your mailbox in CRM
If you need more guidance on setting it up, you can find more on Microsoft documentation: Set incoming and outgoing email synchronization.
After this is done, you should install the Dynamics 365 App for Outlook.