
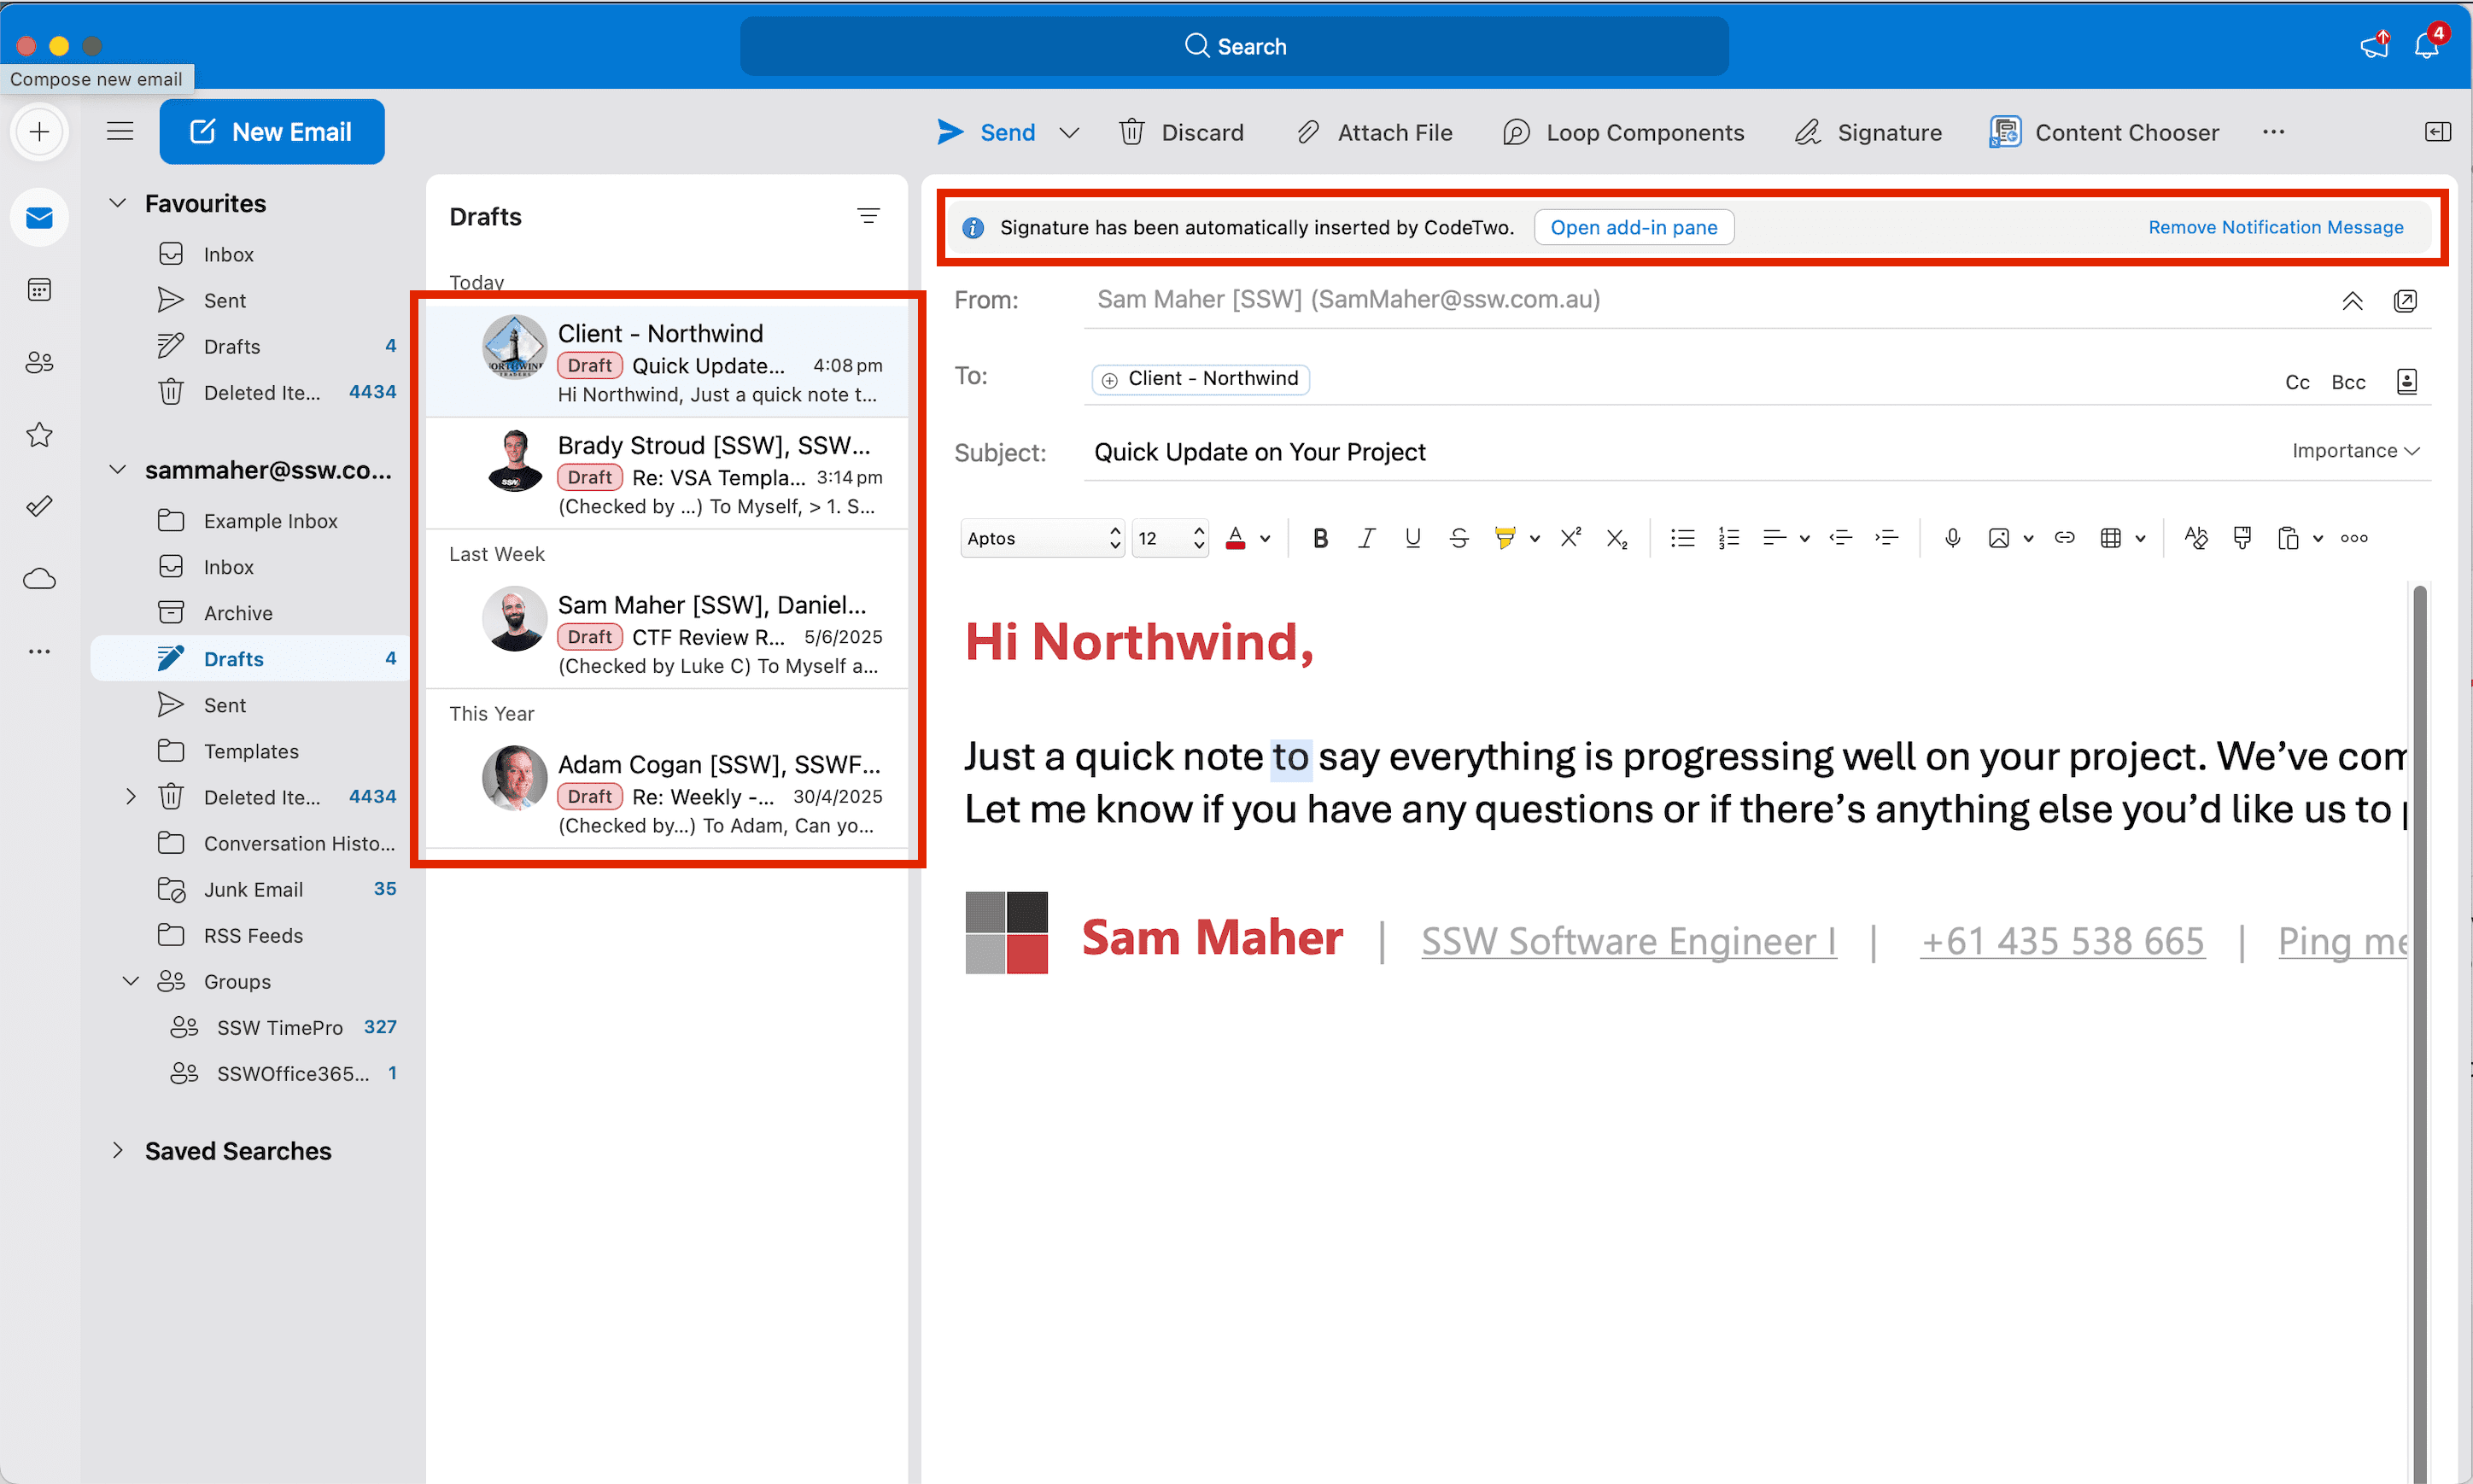
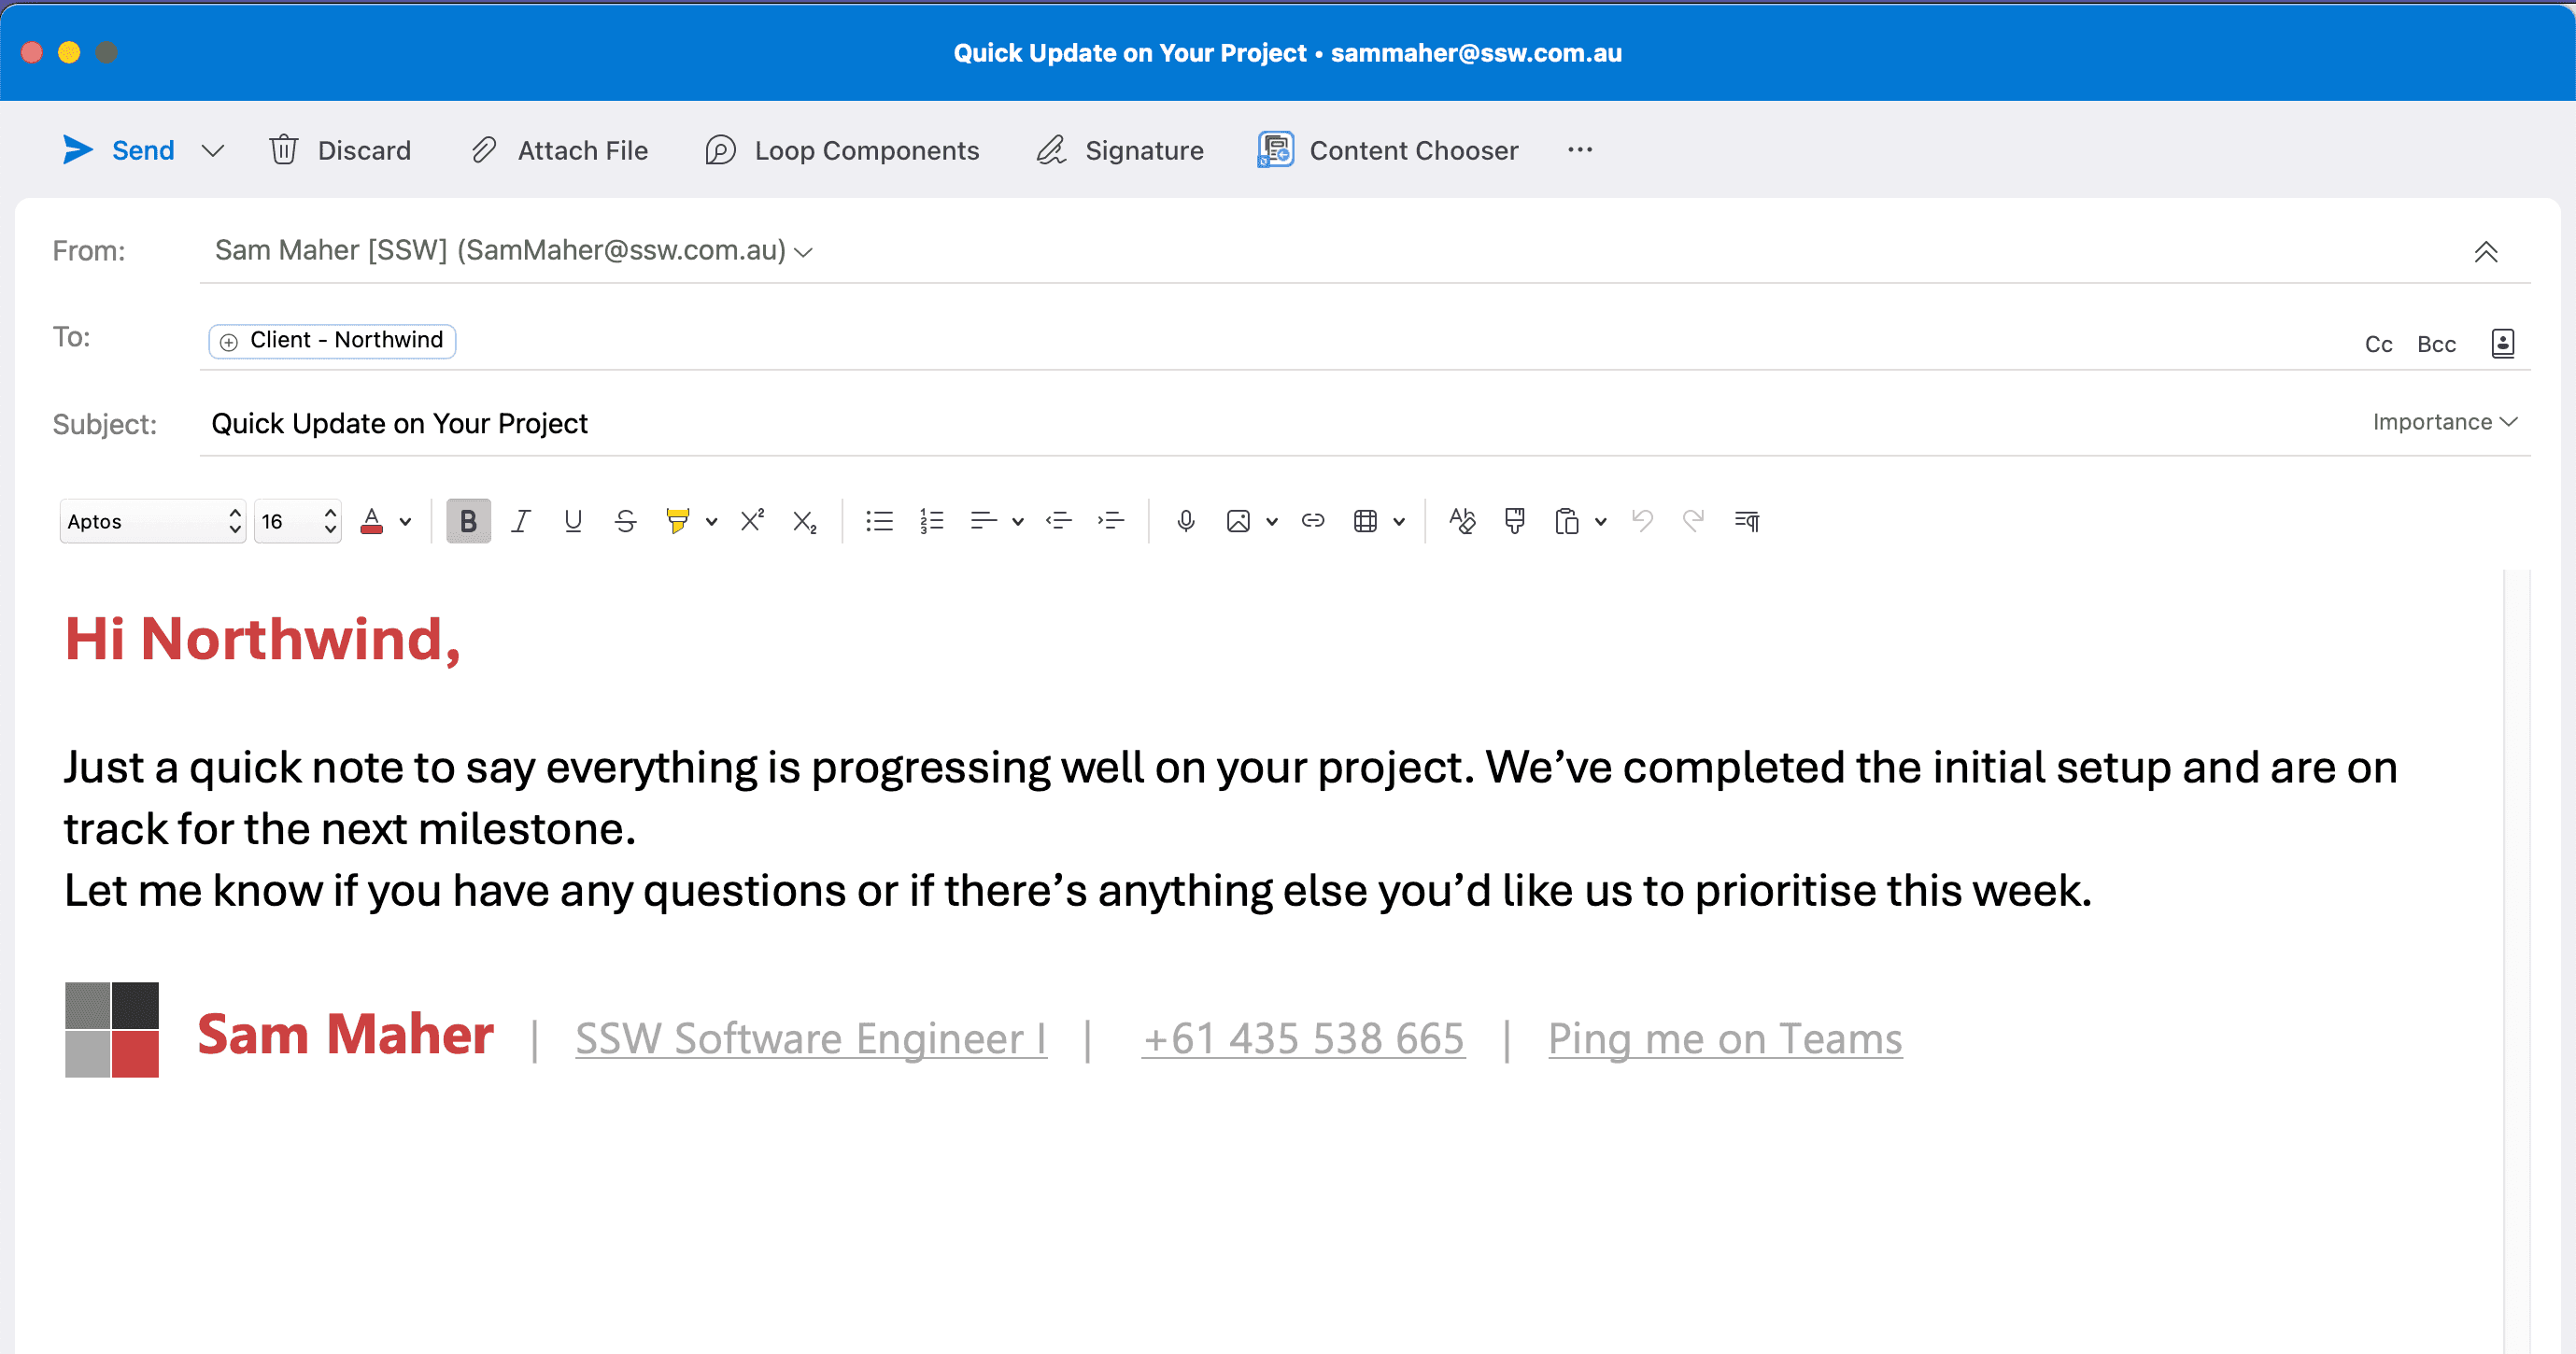
Do you know how to record a quick and dirty 'Done Video'?
Last updated by Tiago Araújo [SSW] 3 days ago.See historyWhen you've finished a PBI you should record a video to send to your Product Owner and anyone else that is interested. A 'Done' video is much better than a screenshot because you are proving the PBI workflow actually works. Even better, this video can double as documentation or release notes for your users.
When deciding whether a PBI might be a good contender to record a Done Video for, consider these factors:
- Is it a key piece of functionality that has high business value?
- Would it be difficult to quickly demo in the Sprint Review without a video?
- Is it UI heavy? i.e. Would the video be compelling?
Tip 1: Choose the right software
To record your screen and camera together
Check out "Do you know how to record your screen?" for the best options.
To edit your video
- Basic editing: Clipchamp, Video Editor (for Windows), iMovie (for Mac)
- Advanced editing: Adobe Premiere Pro, Final Cut, DaVinci Resolve
How tos
Clipchamp
Here's a video describing how to record** and edit a quick Done Video using Clipchamp:
Tip: Jump to 04:31 for how to record screen and webcam.
Video: 🎬 BEST Clipchamp Video Editing Tips and Tricks (14 min)Warning: Clipchamp has a record limit of 30 minutes for a single project. If you are planning on recording several takes, start a new project.
OBS Studio
Here's a video describing how to record a quick Done video using OBS:
Video: How to Record your Computer Screen & Webcam in OBS Studio (8 min)Note: The Picture in Picture will be permanently embedded in the exported video and cannot be altered later.
For a more professional video that requires some editing
Here's a quick video describing how to record your webcam and screen separately in high-resolution using OBS for post-processing and editing:
Video: How to Record Webcam and Game Separately in OBS Studio | Tutorial (10 min)Note: You will be able to alter the PIP, remove it, go full screen on your face. Also note that you'll need to set the output to 30 FPS in your OBS settings - not 60 FPS as outlined in the video. Setting the output to 30 FPS will ensure you don't experience syncing issues or lag between the video and audio.
Switching Scenes in OBS
It is quite easy to do with these simple steps using OBS Hotkeys!
Video: How To Switch Scenes In OBS Easily! (OBS Hotkeys) | Tutorial (4 min)Tip #2: Follow the 'Done Video' structure
Your Done Videos should follow the following format:
-
Intro
- Prepare and practice your talking points and visual elements
- Start with a medium close up shot of yourself
- Start with a smile the camera for 2 seconds before speaking
- Briefly introduce yourself. E.g. "I'm David, Solution Architect at SSW"
-
Post-intro
- Transition into a screen share with the solution you've created on screen, moving your portrait shot to the bottom right corner of the screen
- Provide an overview of the PBI you are going to discuss, remembering to zoom out before showing code samples or demos (see rule - Do you zoom out then in)
- The tabs you are planning to use should be already open
-
Show the pain
- Explain the problem you or the stakeholder was having before you finished your work
- Show a example of where this issue occurred
-
Demo the solution
- Provide a working example of your code
- Demo the code with a realistic use case
- Direct attention and give people an idea of where to look
- Harken back to the pain showing the value of your solution
-
Outro
- Transition back into a medium close up shot of yourself
- Provide a brief summary of what you discussed in the video
- Use a signature to bid farewell to the audience. E.g. "This is David signing off"
- Hold eye contact and a smile to the camera for 2 seconds before the video ends
Tip #3: Look sharp when presenting
If your company has branded clothing, make sure it's ironed, tidy and visible. Wear it proudly! Alternatively, wear clean, neutral color clothing. E.g. White, grey, or black shirt
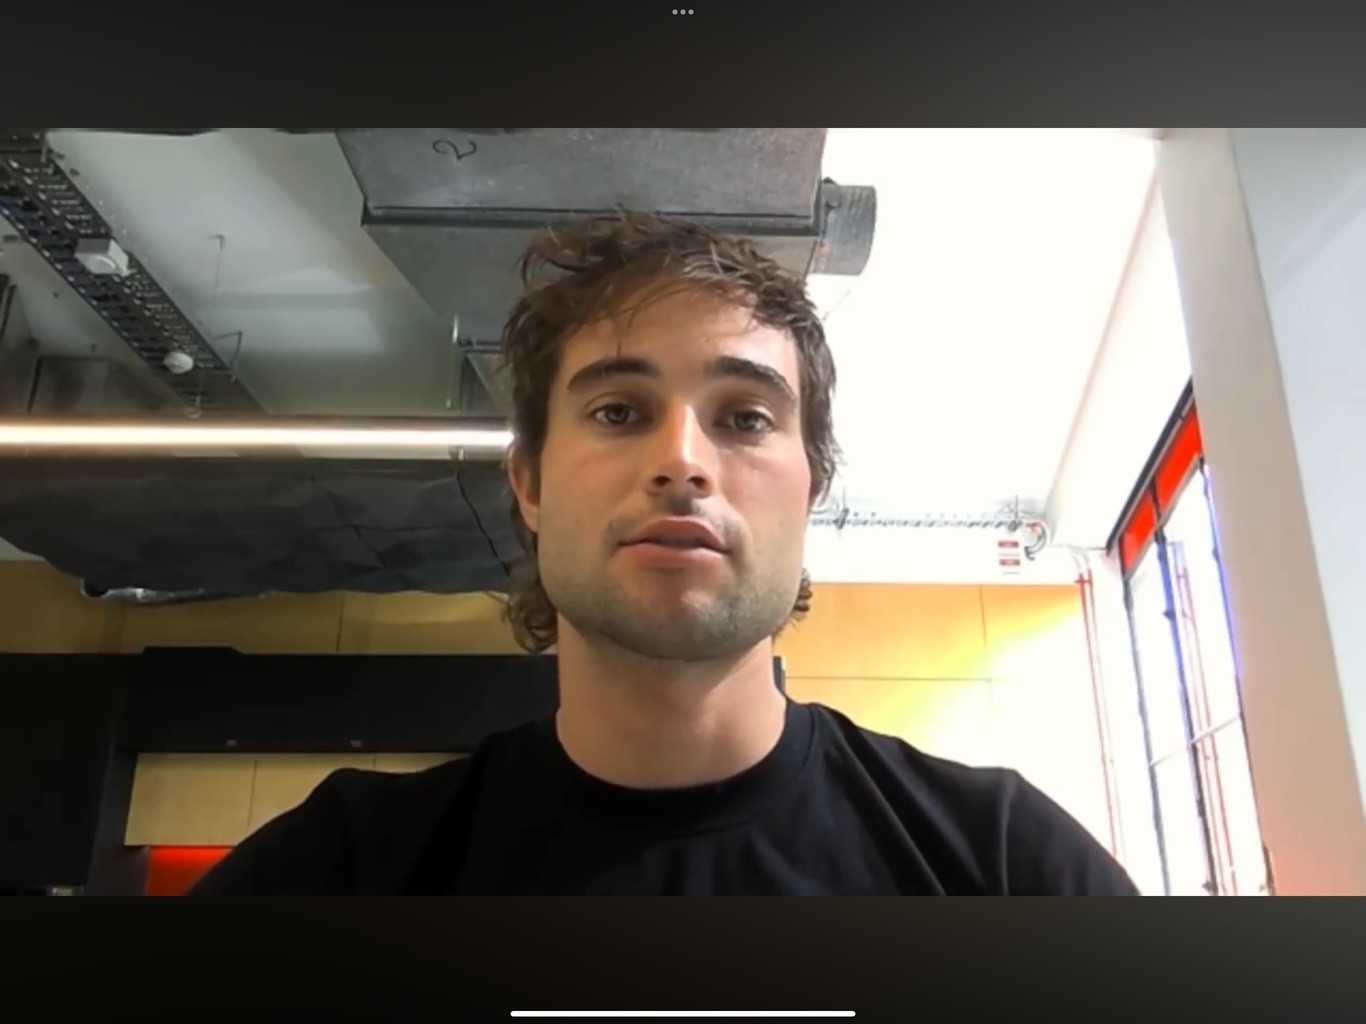
Tip #4: Frame yourself properly
Have your webcam height at eye level for engagement. Make sure there is sufficient headroom - not too little (don't cut off the top of your head in the frame) and no too much (the subject needs to fill the frame).
Ensure your branded clothing is visible and the background is clean and tidy, also consider tilting the camera for a more dynamic background with depth instead of a flat background
Tip #5: Get your lighting right
Ensure there is optimal room lighting and facial brightness. Consider a ceiling-pointing lamp for additional light. Avoid intense backlights to prevent silhouetting
Tip #6: Record in one take
Record it in one take, but start again if it's super bad. If something out-of-your control happens, try to be natural! If you mistype a word or click the wrong button, don't freak out and start again, incorporate it. E.g. "Whoops, clicked build accidently. Let me just refresh and go again"
If your video is short (1-2 mins), then starting again may be optimal. However, if your video is longer ( more than 5 minutes), then try to incorporate any accidental errors and keep going.
Tip #7: Keep the UI clean
When using a browser, IDE, or any relevant app, make sure the interface is readable, clean and free of distractions.
- Resolution - Set your screen to 1080p (1920x1080)
- Browser - Hide the bookmarks bar and set the zoom to 125%. (You can easily get a clean browser by using a guest or incognito profile)
- Microsoft Office - Hide ribbons
- Outlook and others - Clear any irrelevant reminders, clear messages and notifications
- Everywhere - Don't share sensitive information
Extra tip: Make your mouse cursor larger and more visible by increasing its size and adding a bright color.
This helps viewers follow your actions easily — especially on high-resolution screens or busy UIs.
Tip #8: Use clear audio
Check your audio devices for the best quality and make sure your audio is clear and not distracting. E.g. Position the microphone close to your mouth.
Tip #9: Be friendly and natural
Smile, speak naturally, and imagine you're talking to a friend — it helps build connection and keeps viewers engaged.
Looking to improve your presentation skills?
See our tips to craft and deliver engaging presentations.
Tip #10: Do a quick test first
After all this effort to capture a great video this can catch any last-minute changes and cut down on potential re-recordings. E.g. Test your intro hook and screen transitions.
Tip #11: Watch examples
Remember to watch some "Done" videos to get an idea of what a good 'Done Video' looks like!
Video: Good example - Record yourself and your screen | Tables in TinaCMS (2 min)


